February 2017
Swerve Keyboard, Part 2
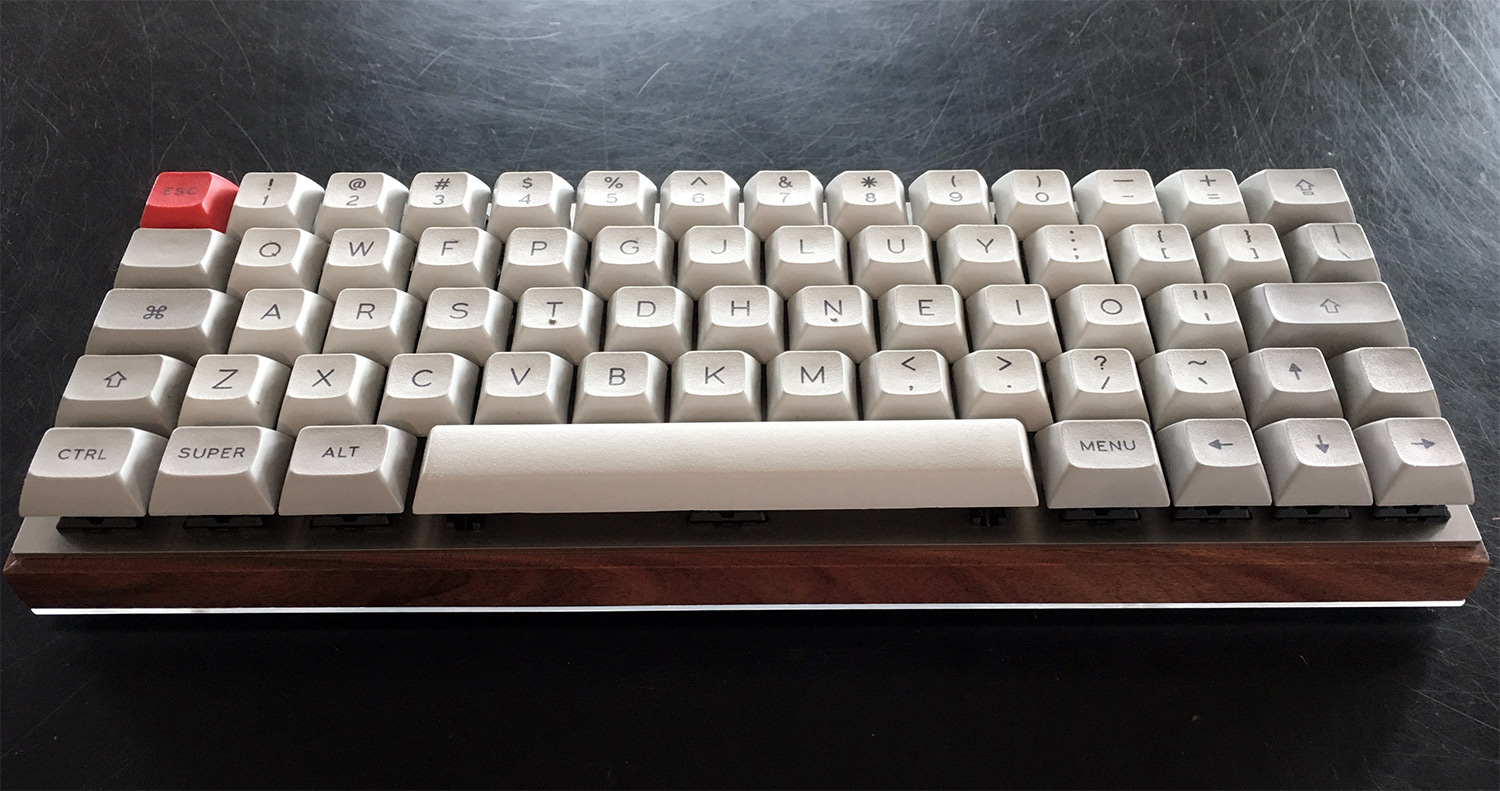
My custom, evenly staggered layout DIY keyboard
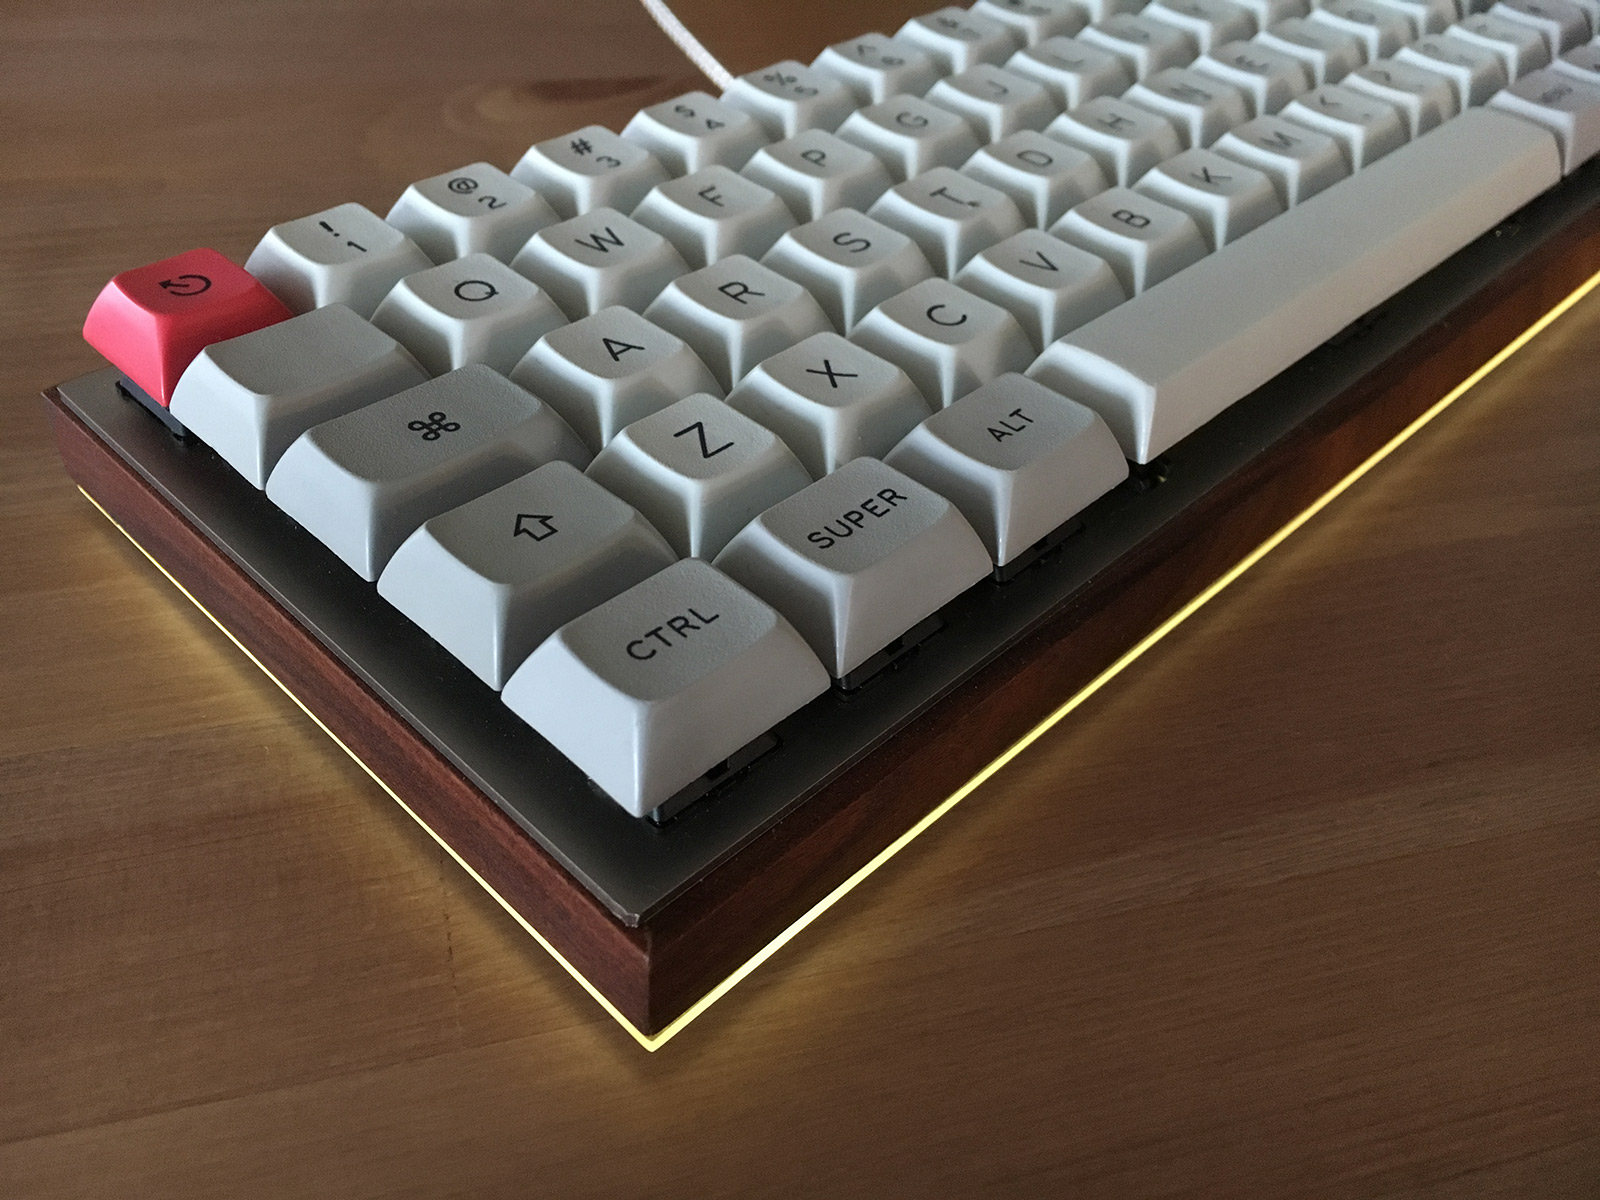 Finished the under-lit case for my DIY hand-wired keyboard, handmade it using Rosewood, Plexiglass, and Aluminum bottom.
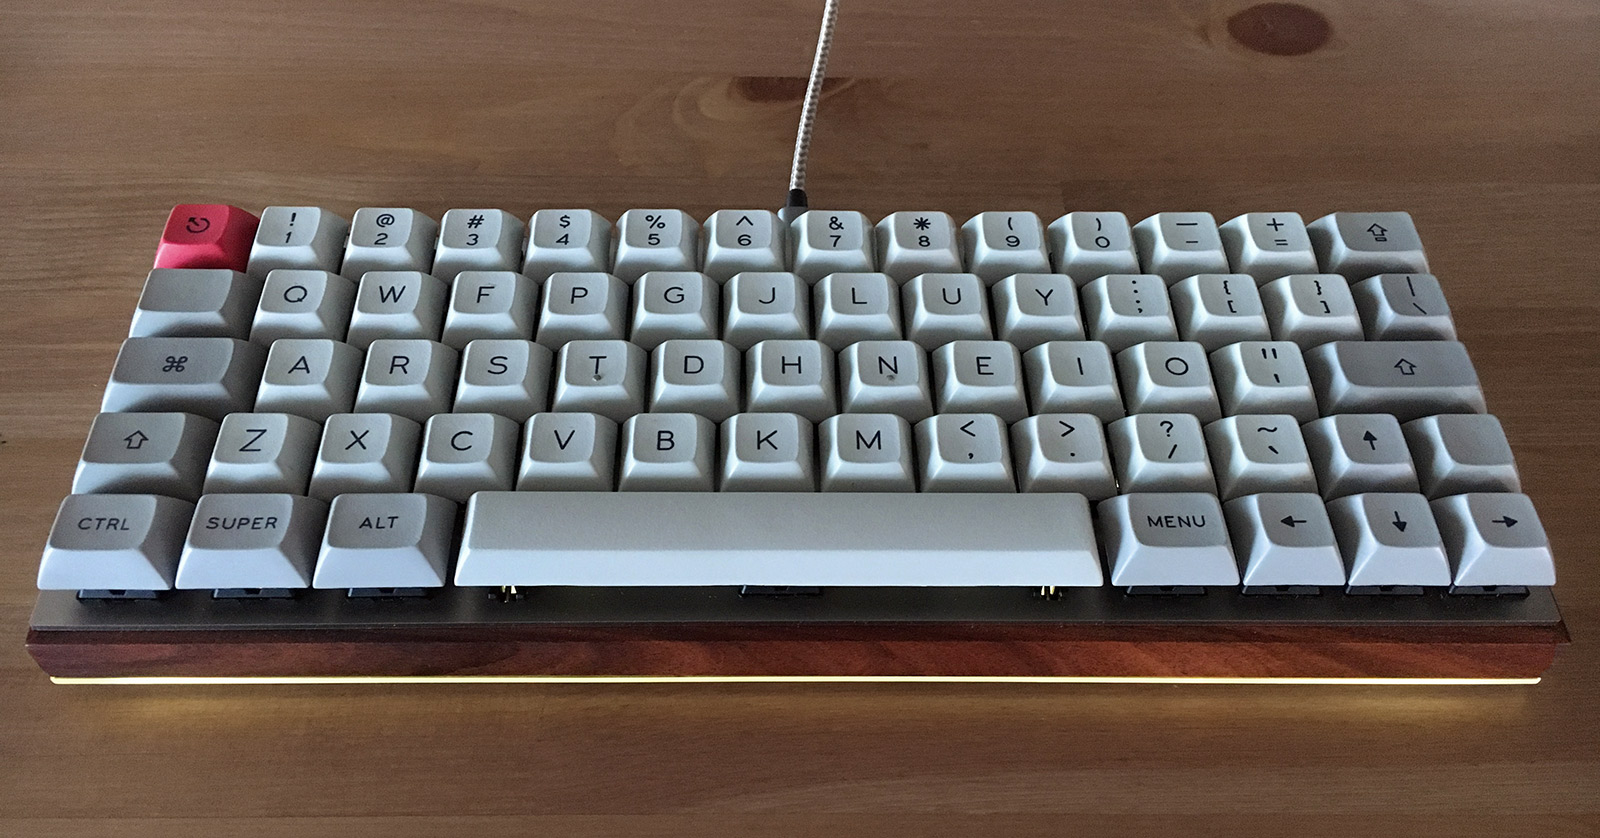 This layout is my own design, it’s an evenly 0.25u staggered layout to be closer to an ortholinear layout, and uses a modified ISO Colemak layout. The details are in original post, but keyboard uses Cherry MX Browns, and PMK DSA Dyesub keycaps.
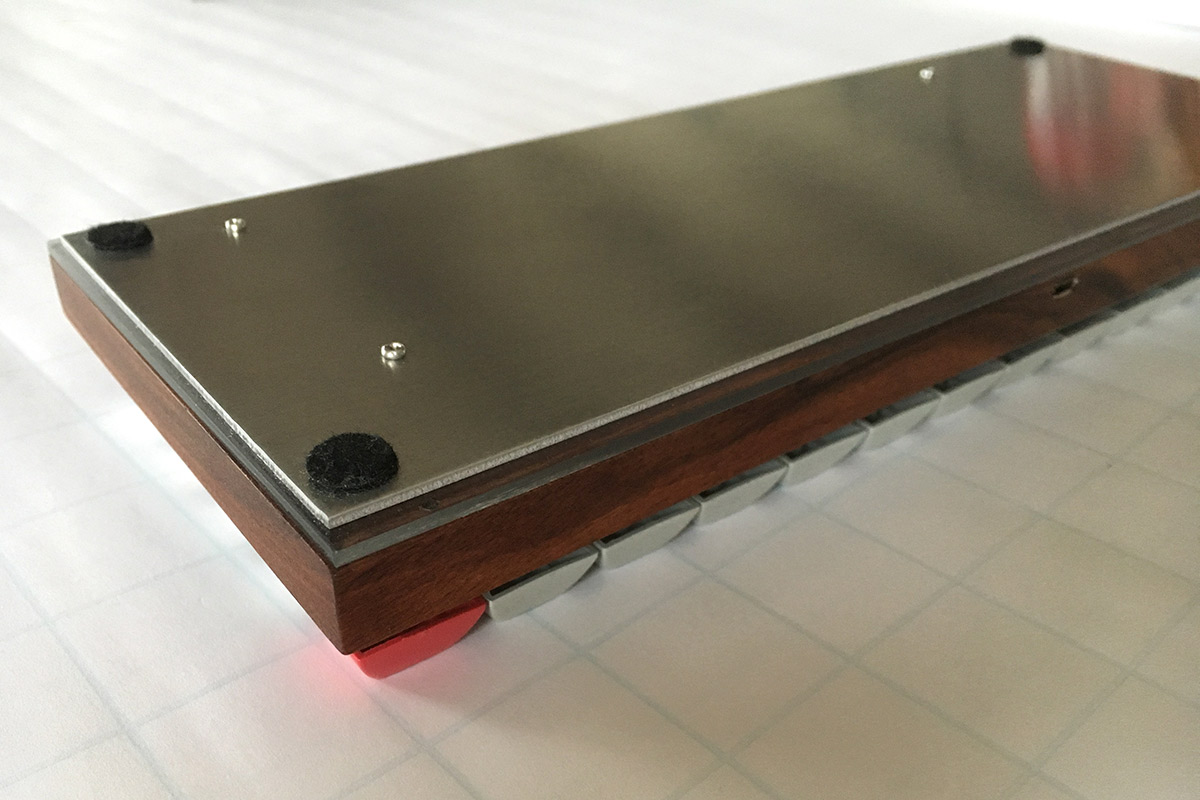 The case is a sandwich of Stainless steel top plate, Rosewood frame, Plexiglas, an Aluminum bottom plate. Top plate was cut by Lasergist, rest is hand-cut by me.
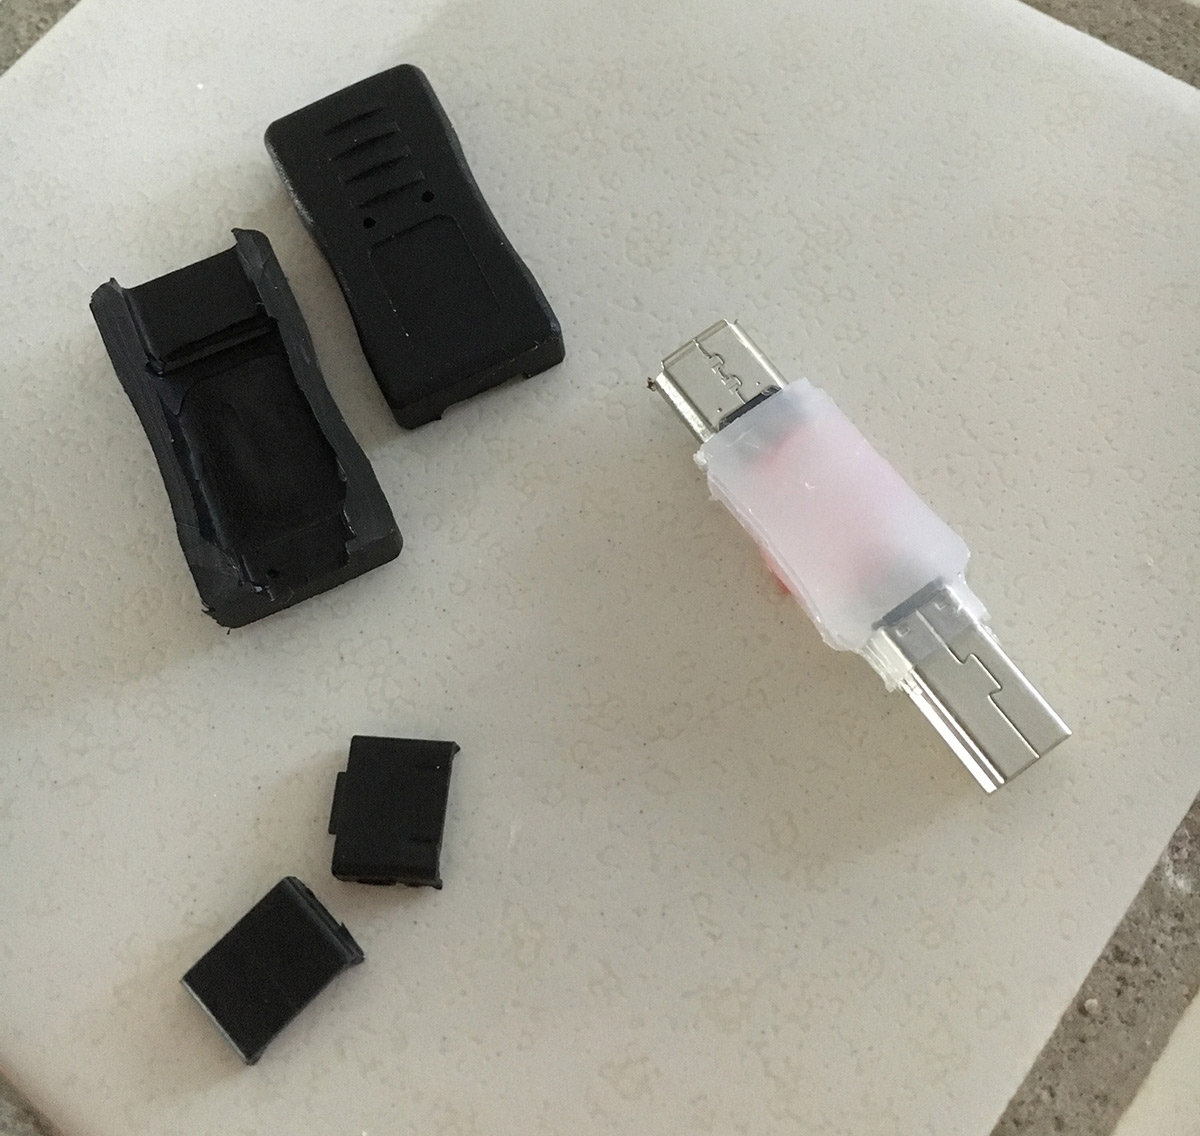 Extended the Teensy controller by splitting apart a micro USB to mini USB adapter…
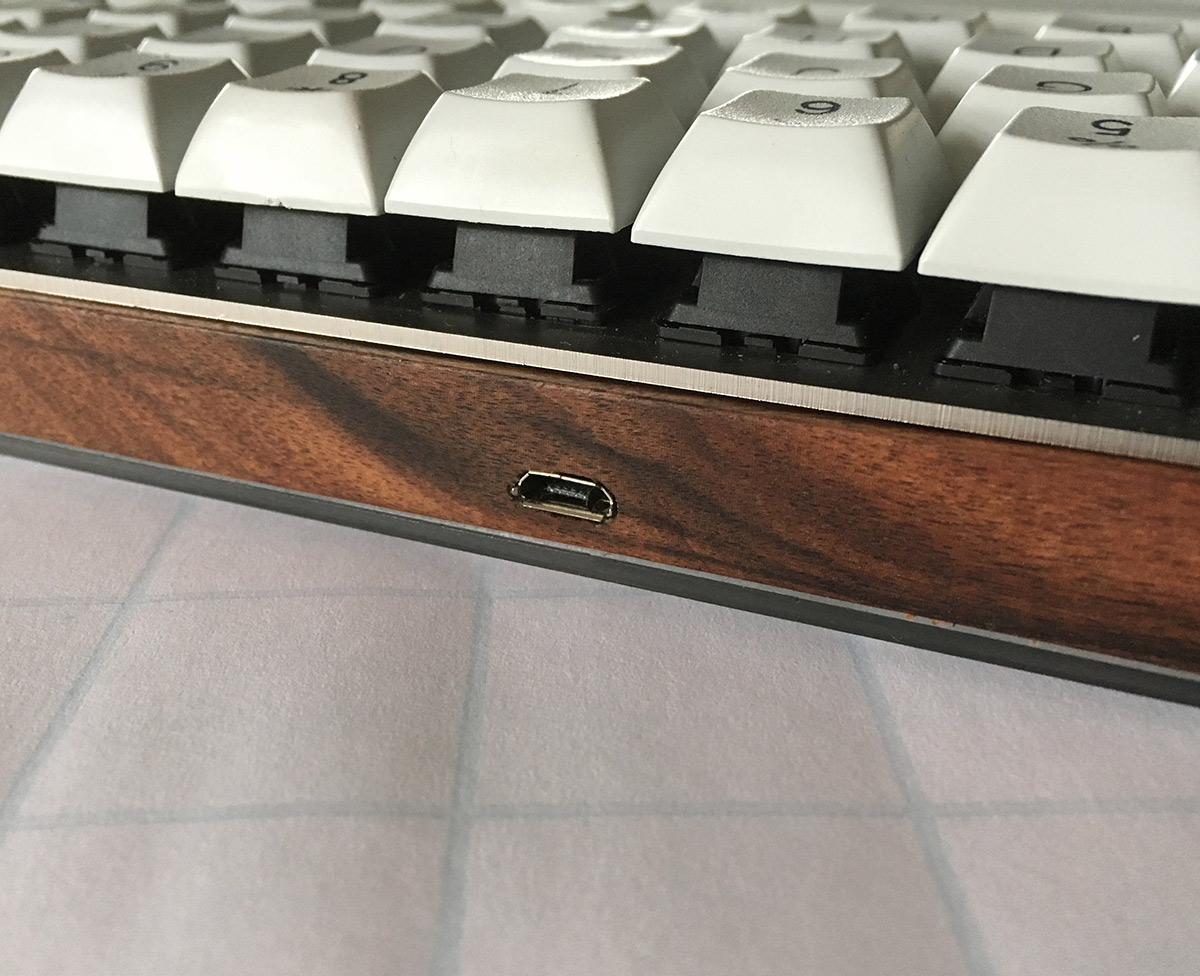 … then cut a hole and epoxied the adapter to keep the cable mount clean, and also to…
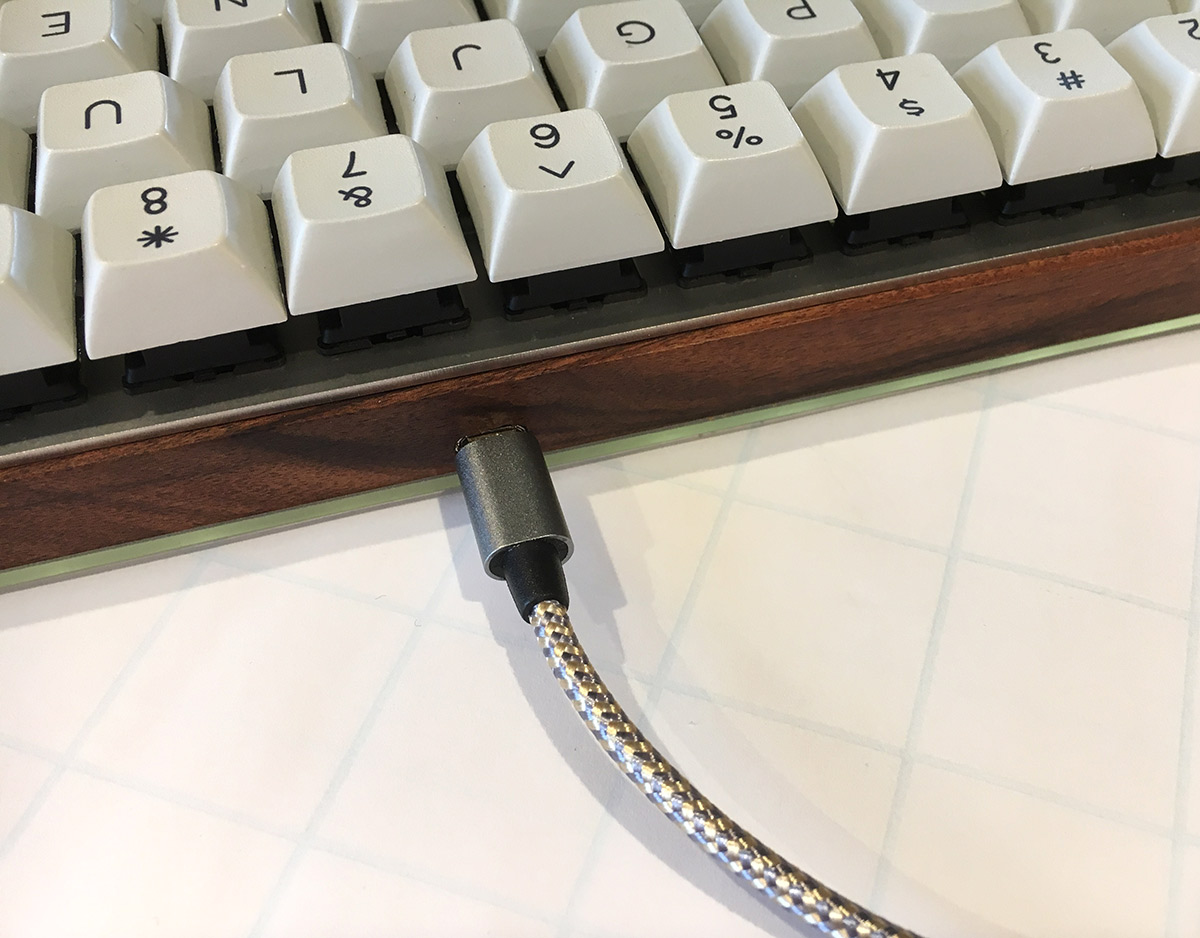 …give me better, cheaper cable options like this.
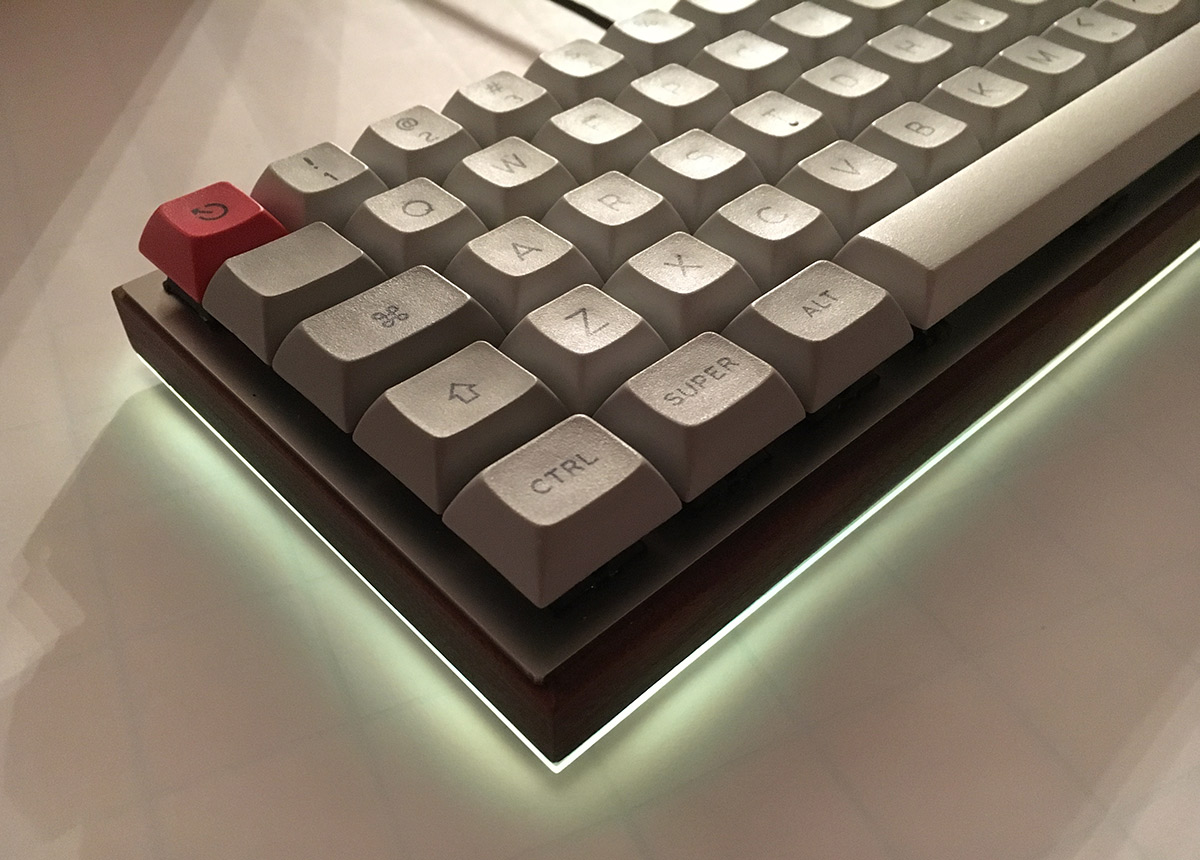
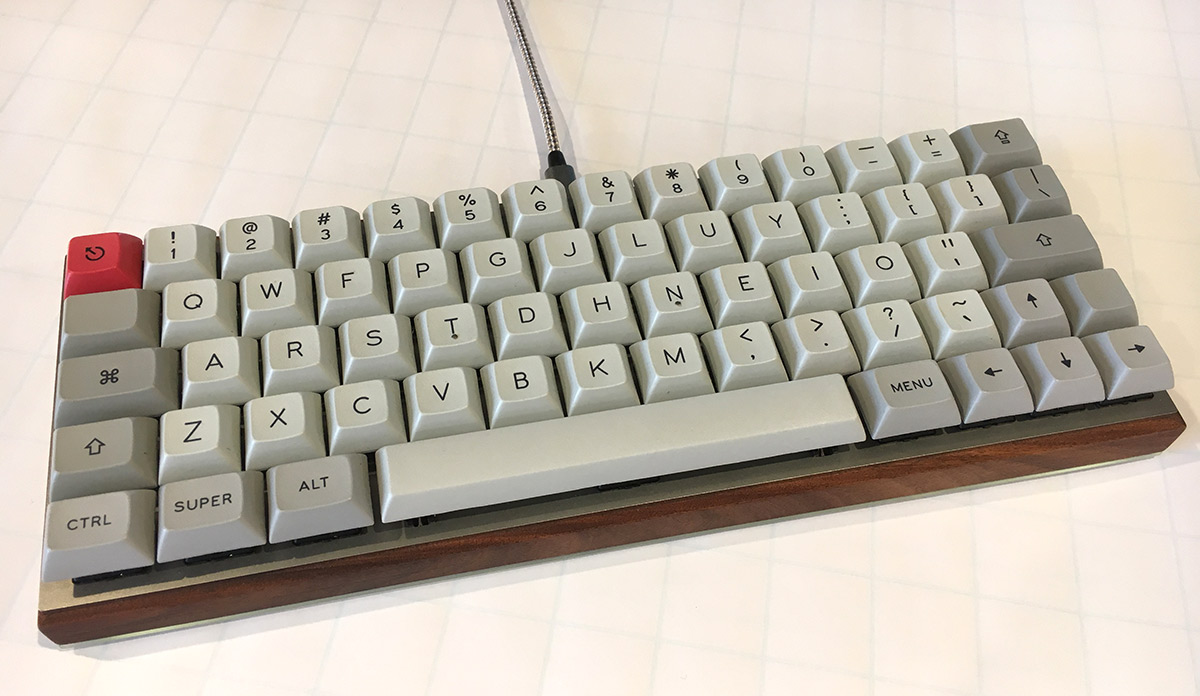 Looks great, aside from a few incorrect key cap legends (see below)
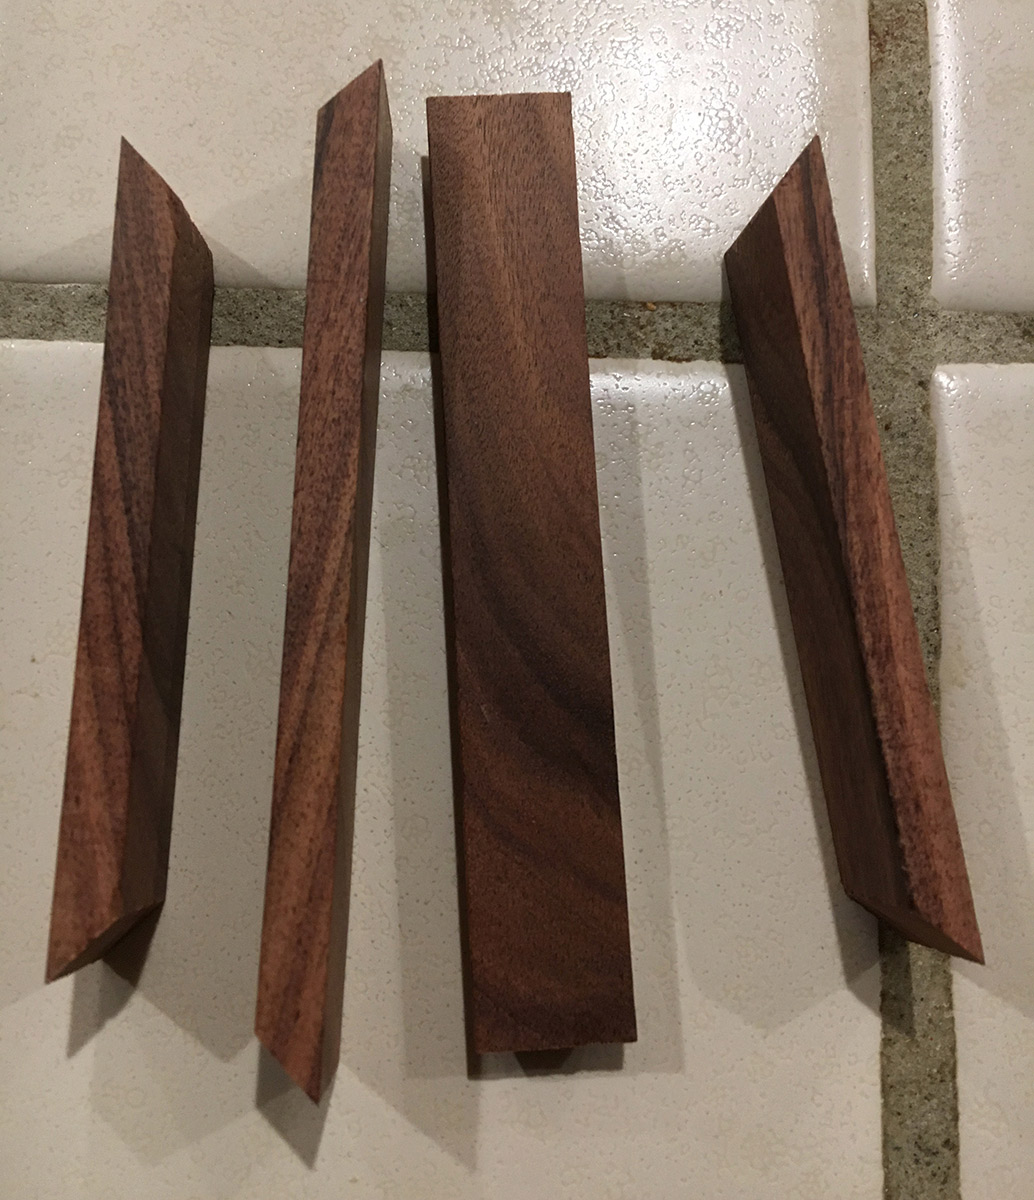 The frame was made from Bolivian Rosewood, and I hand cut the miters.
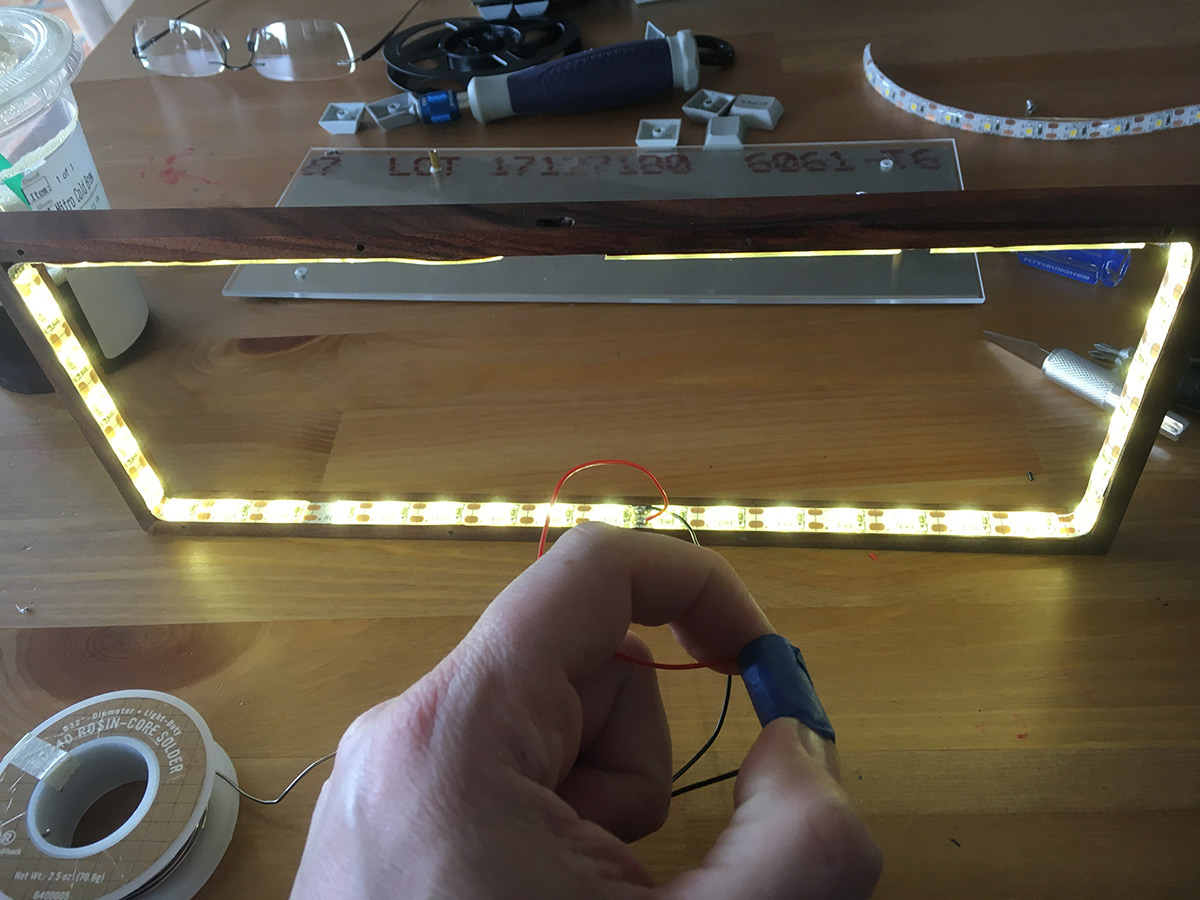 after glueing frame, added some warm white 5V strip LED around the inside. Testing the Stargate with a battery here.
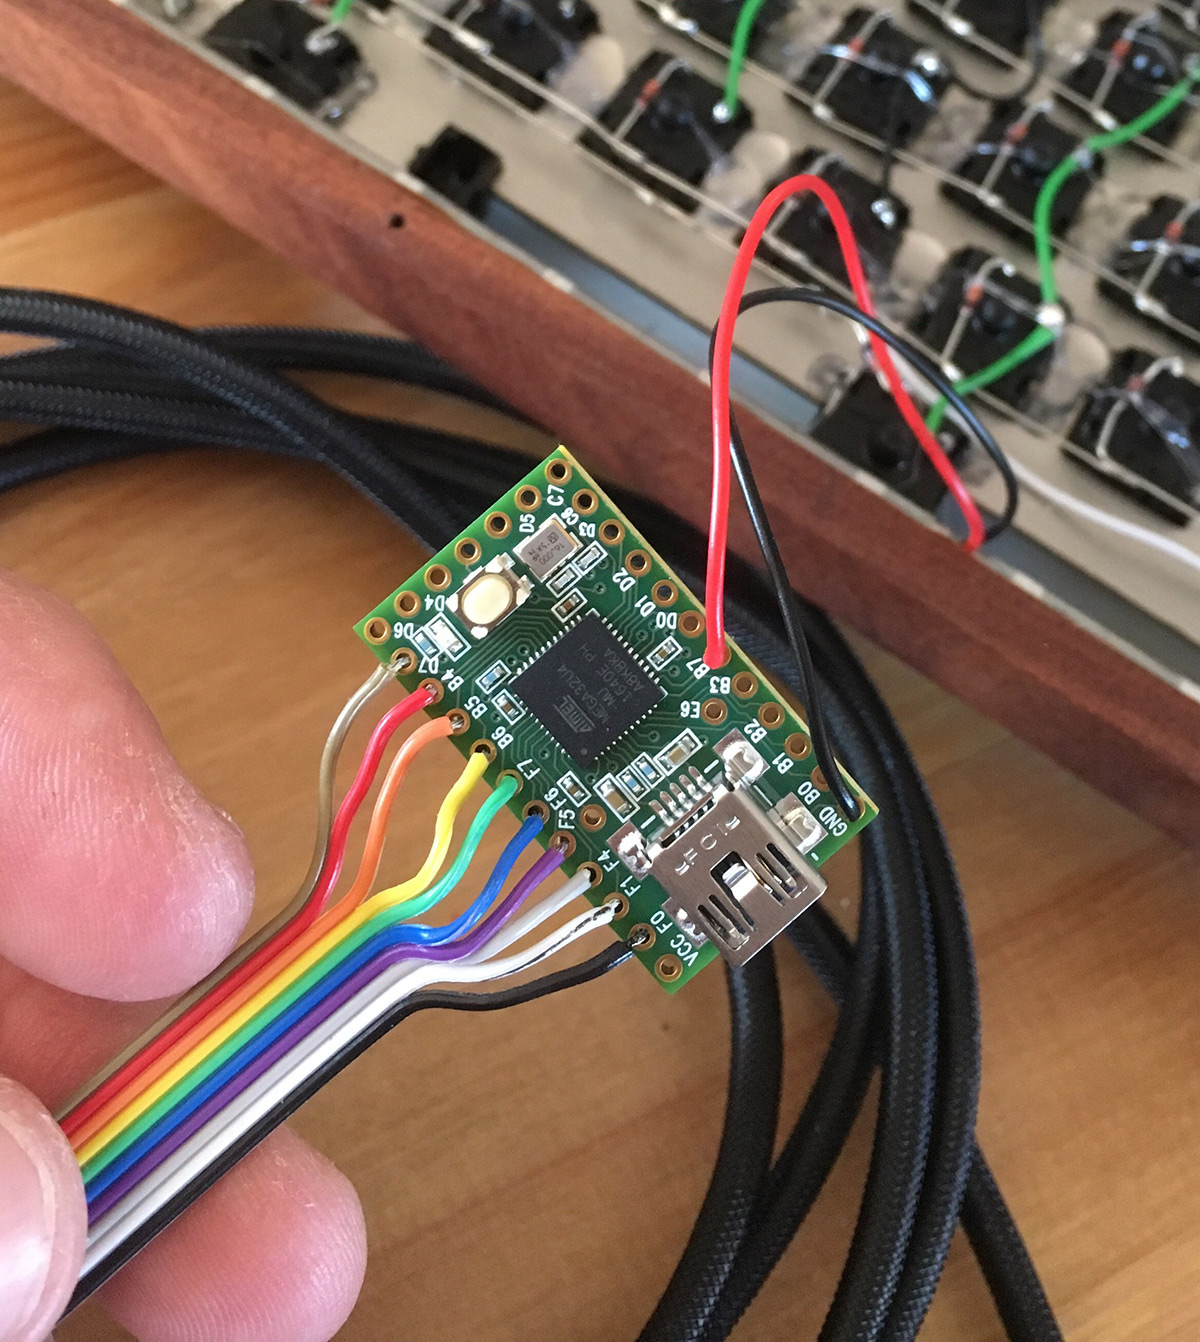 Wired up to the Nyan Cat… Teensy 2.0 controler Backlight pins
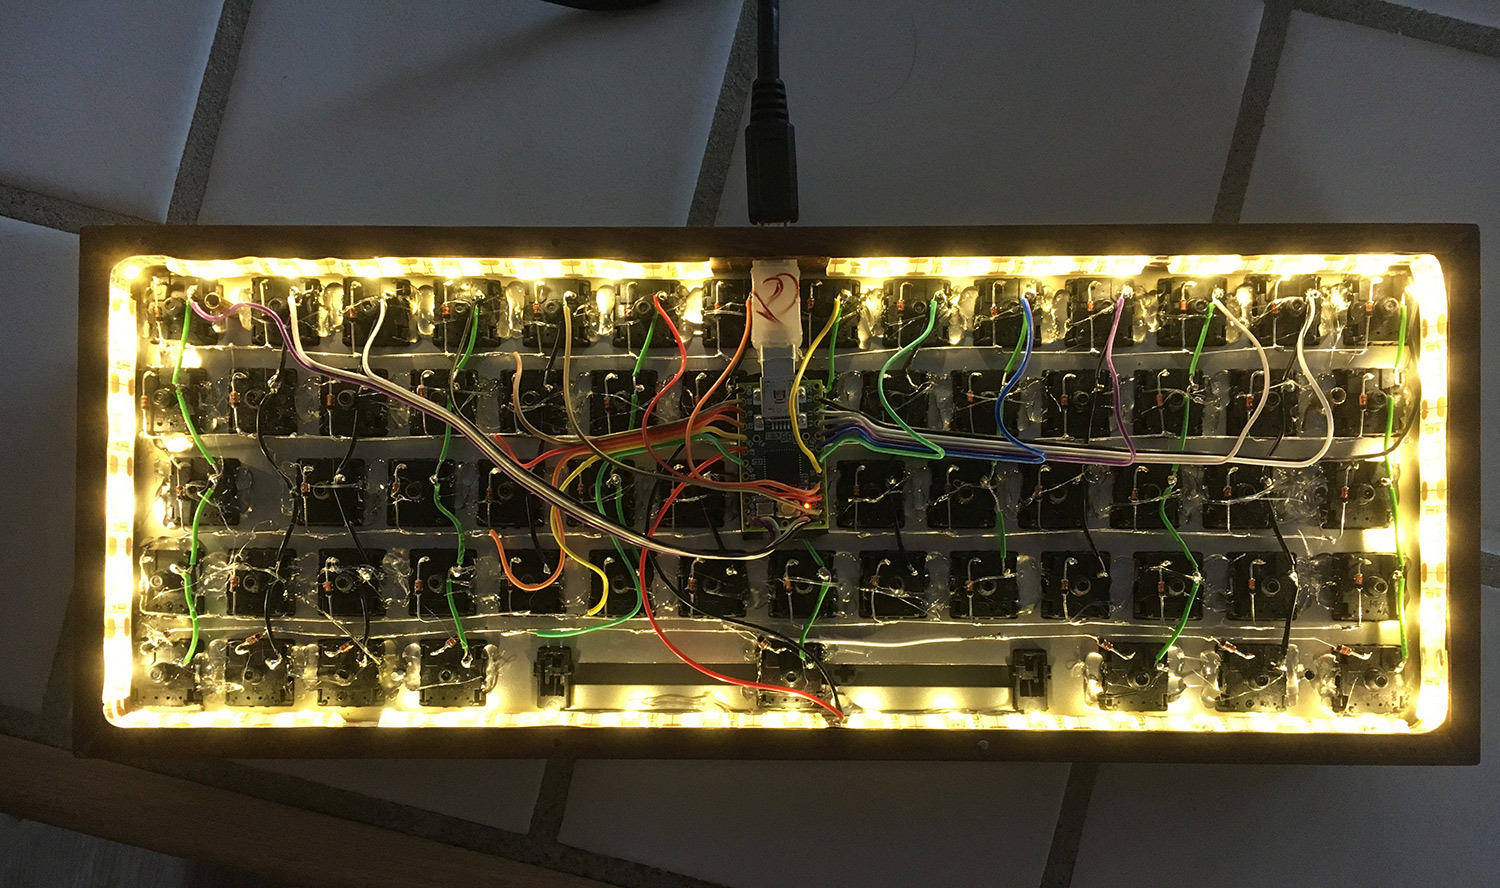 Bit of a disaster with the hot glue gun, but it all works.
 The LED under glow is warmer than the picture shows. It has a very retro 70s/early 80s electronics look.
 One cool thing about the plexiglas bottom sheet being continuous is it channels the light from behind, even with the LEDs off.