December 2016
Prototyping a Cherry MX compatible Trackpoint keycap
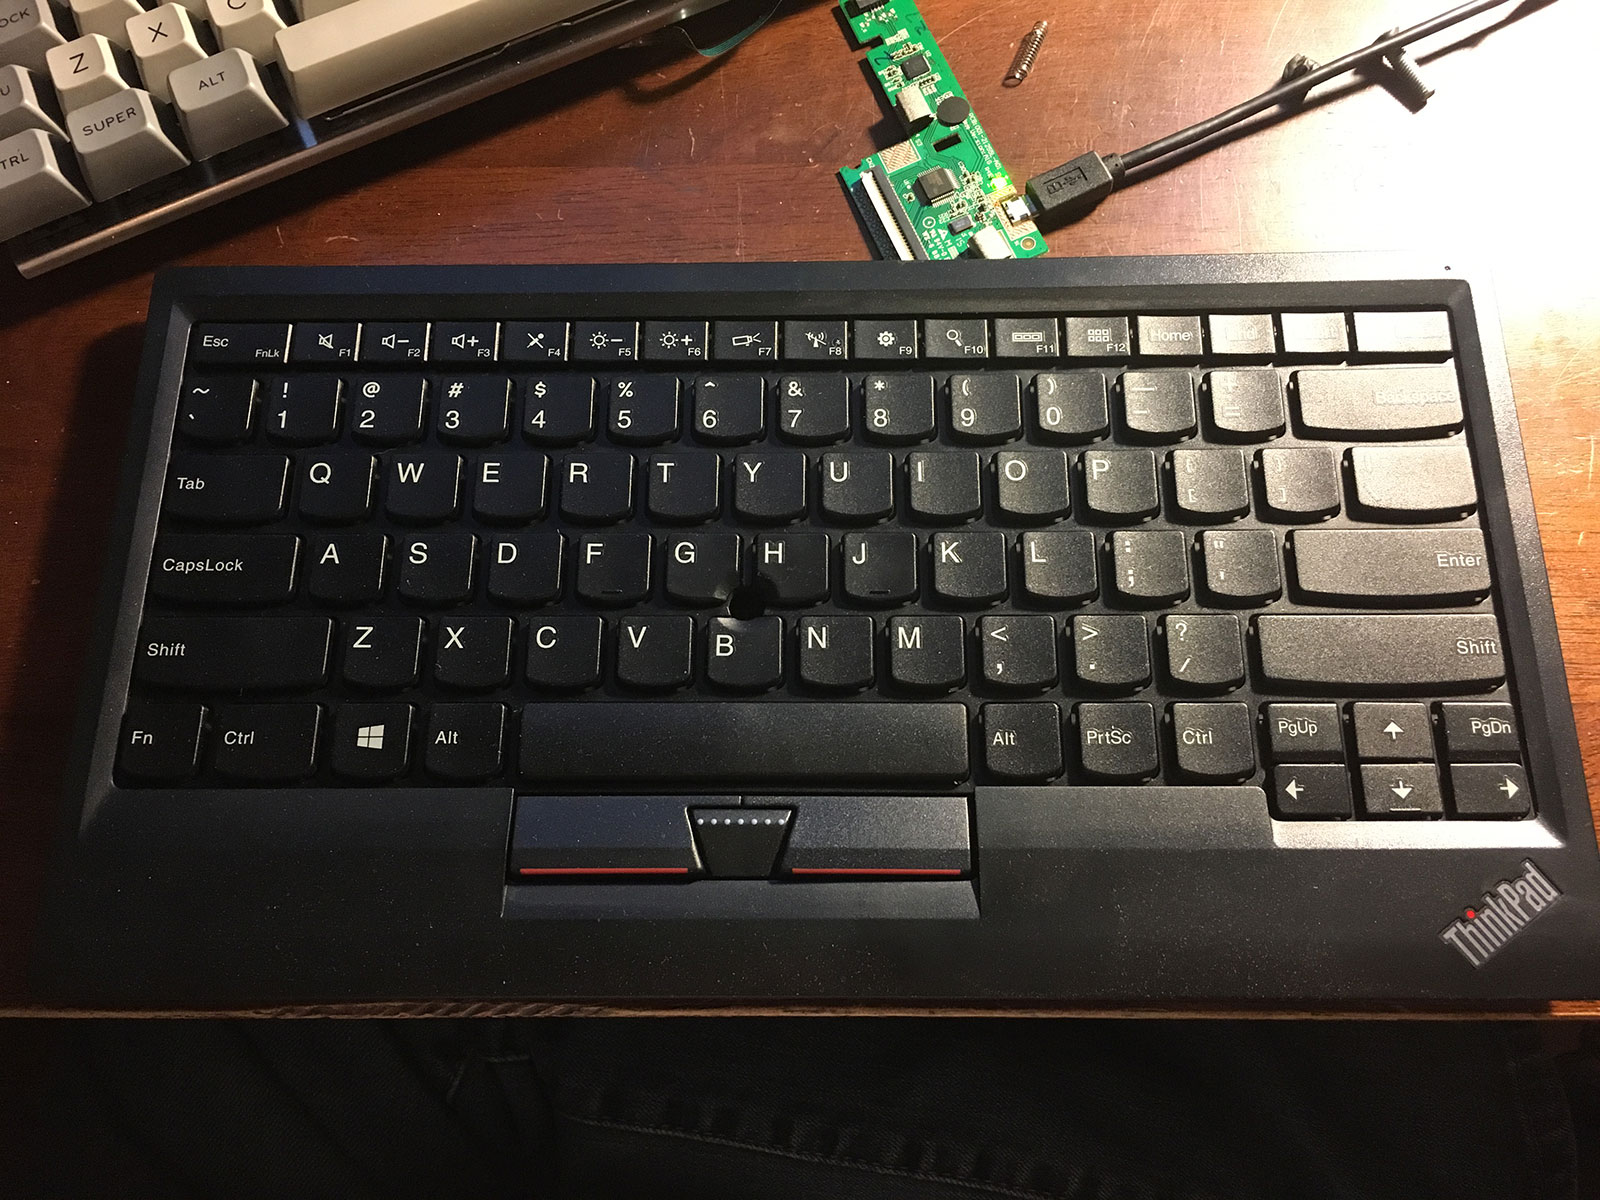 Bought a used Lenovo USB Trackpoint keyboard…
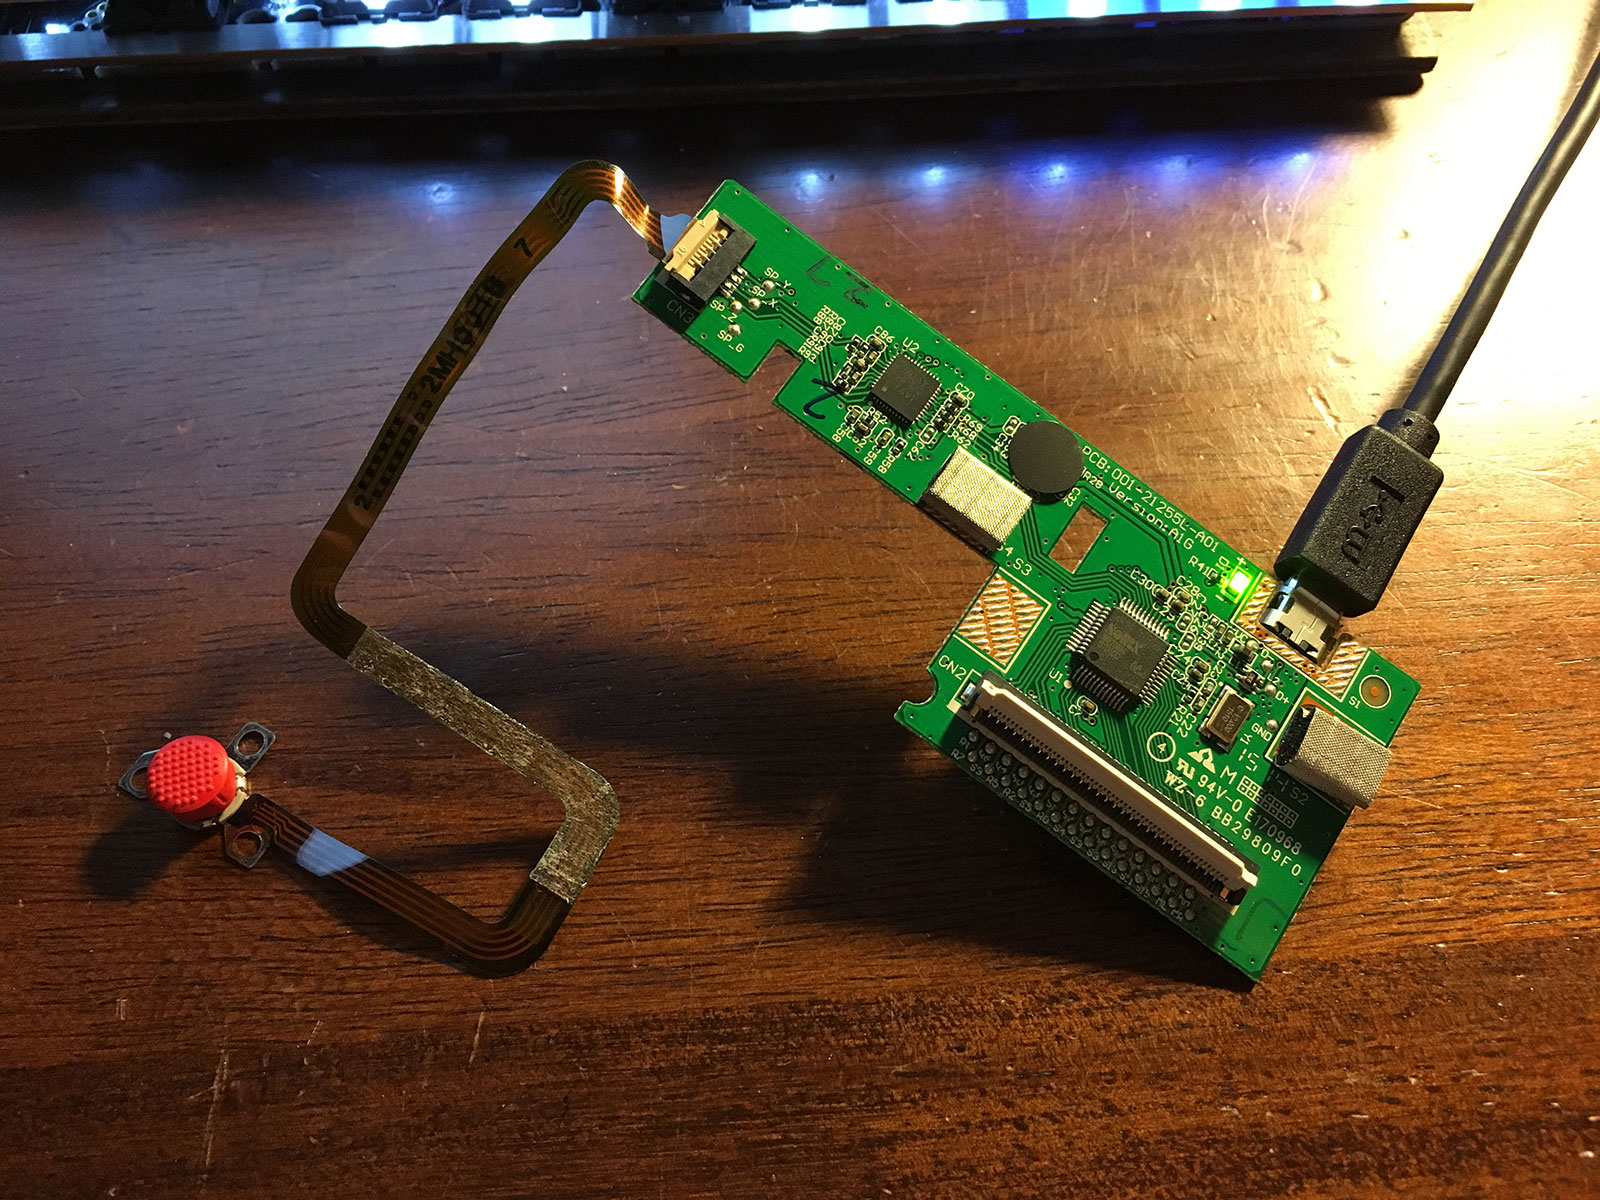 and pulled the Trackpoint module out of it
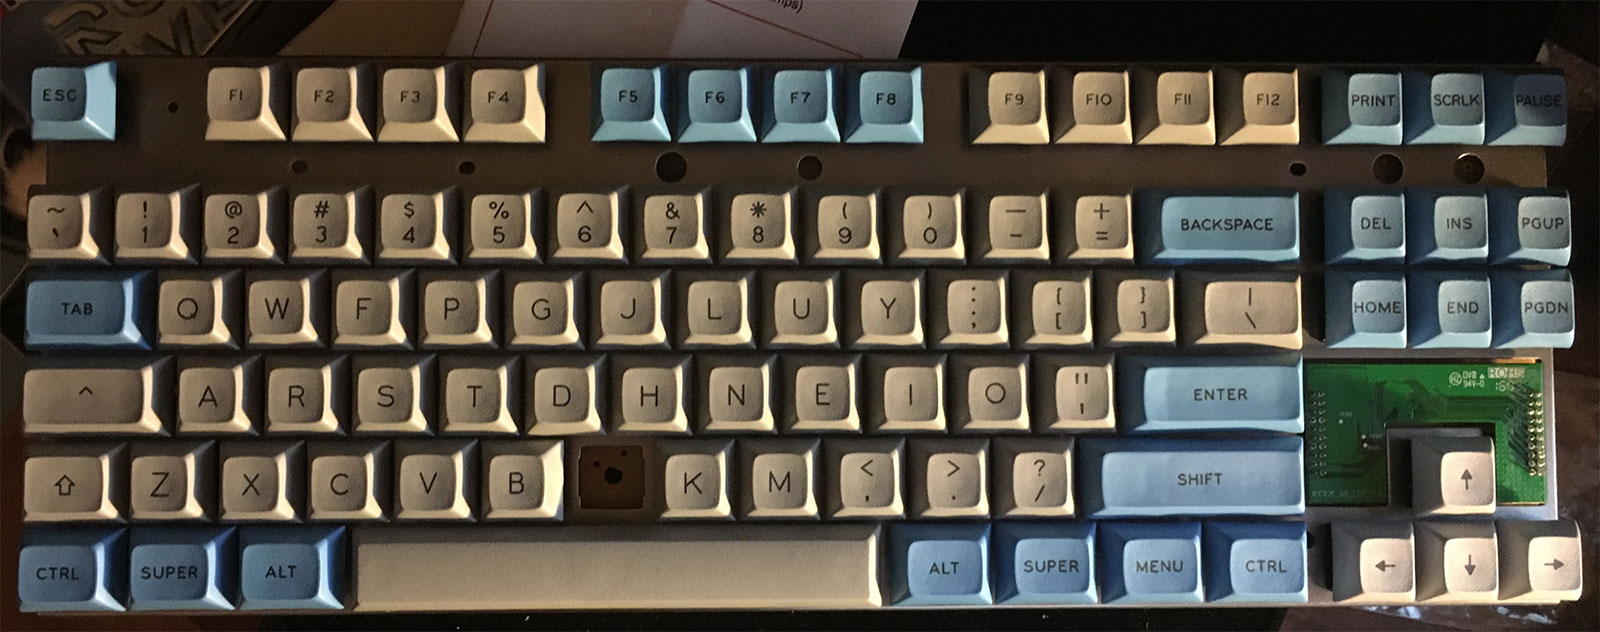 I used shifted ISO Colemak layout on the bottom row, so I have an unused key between B & K
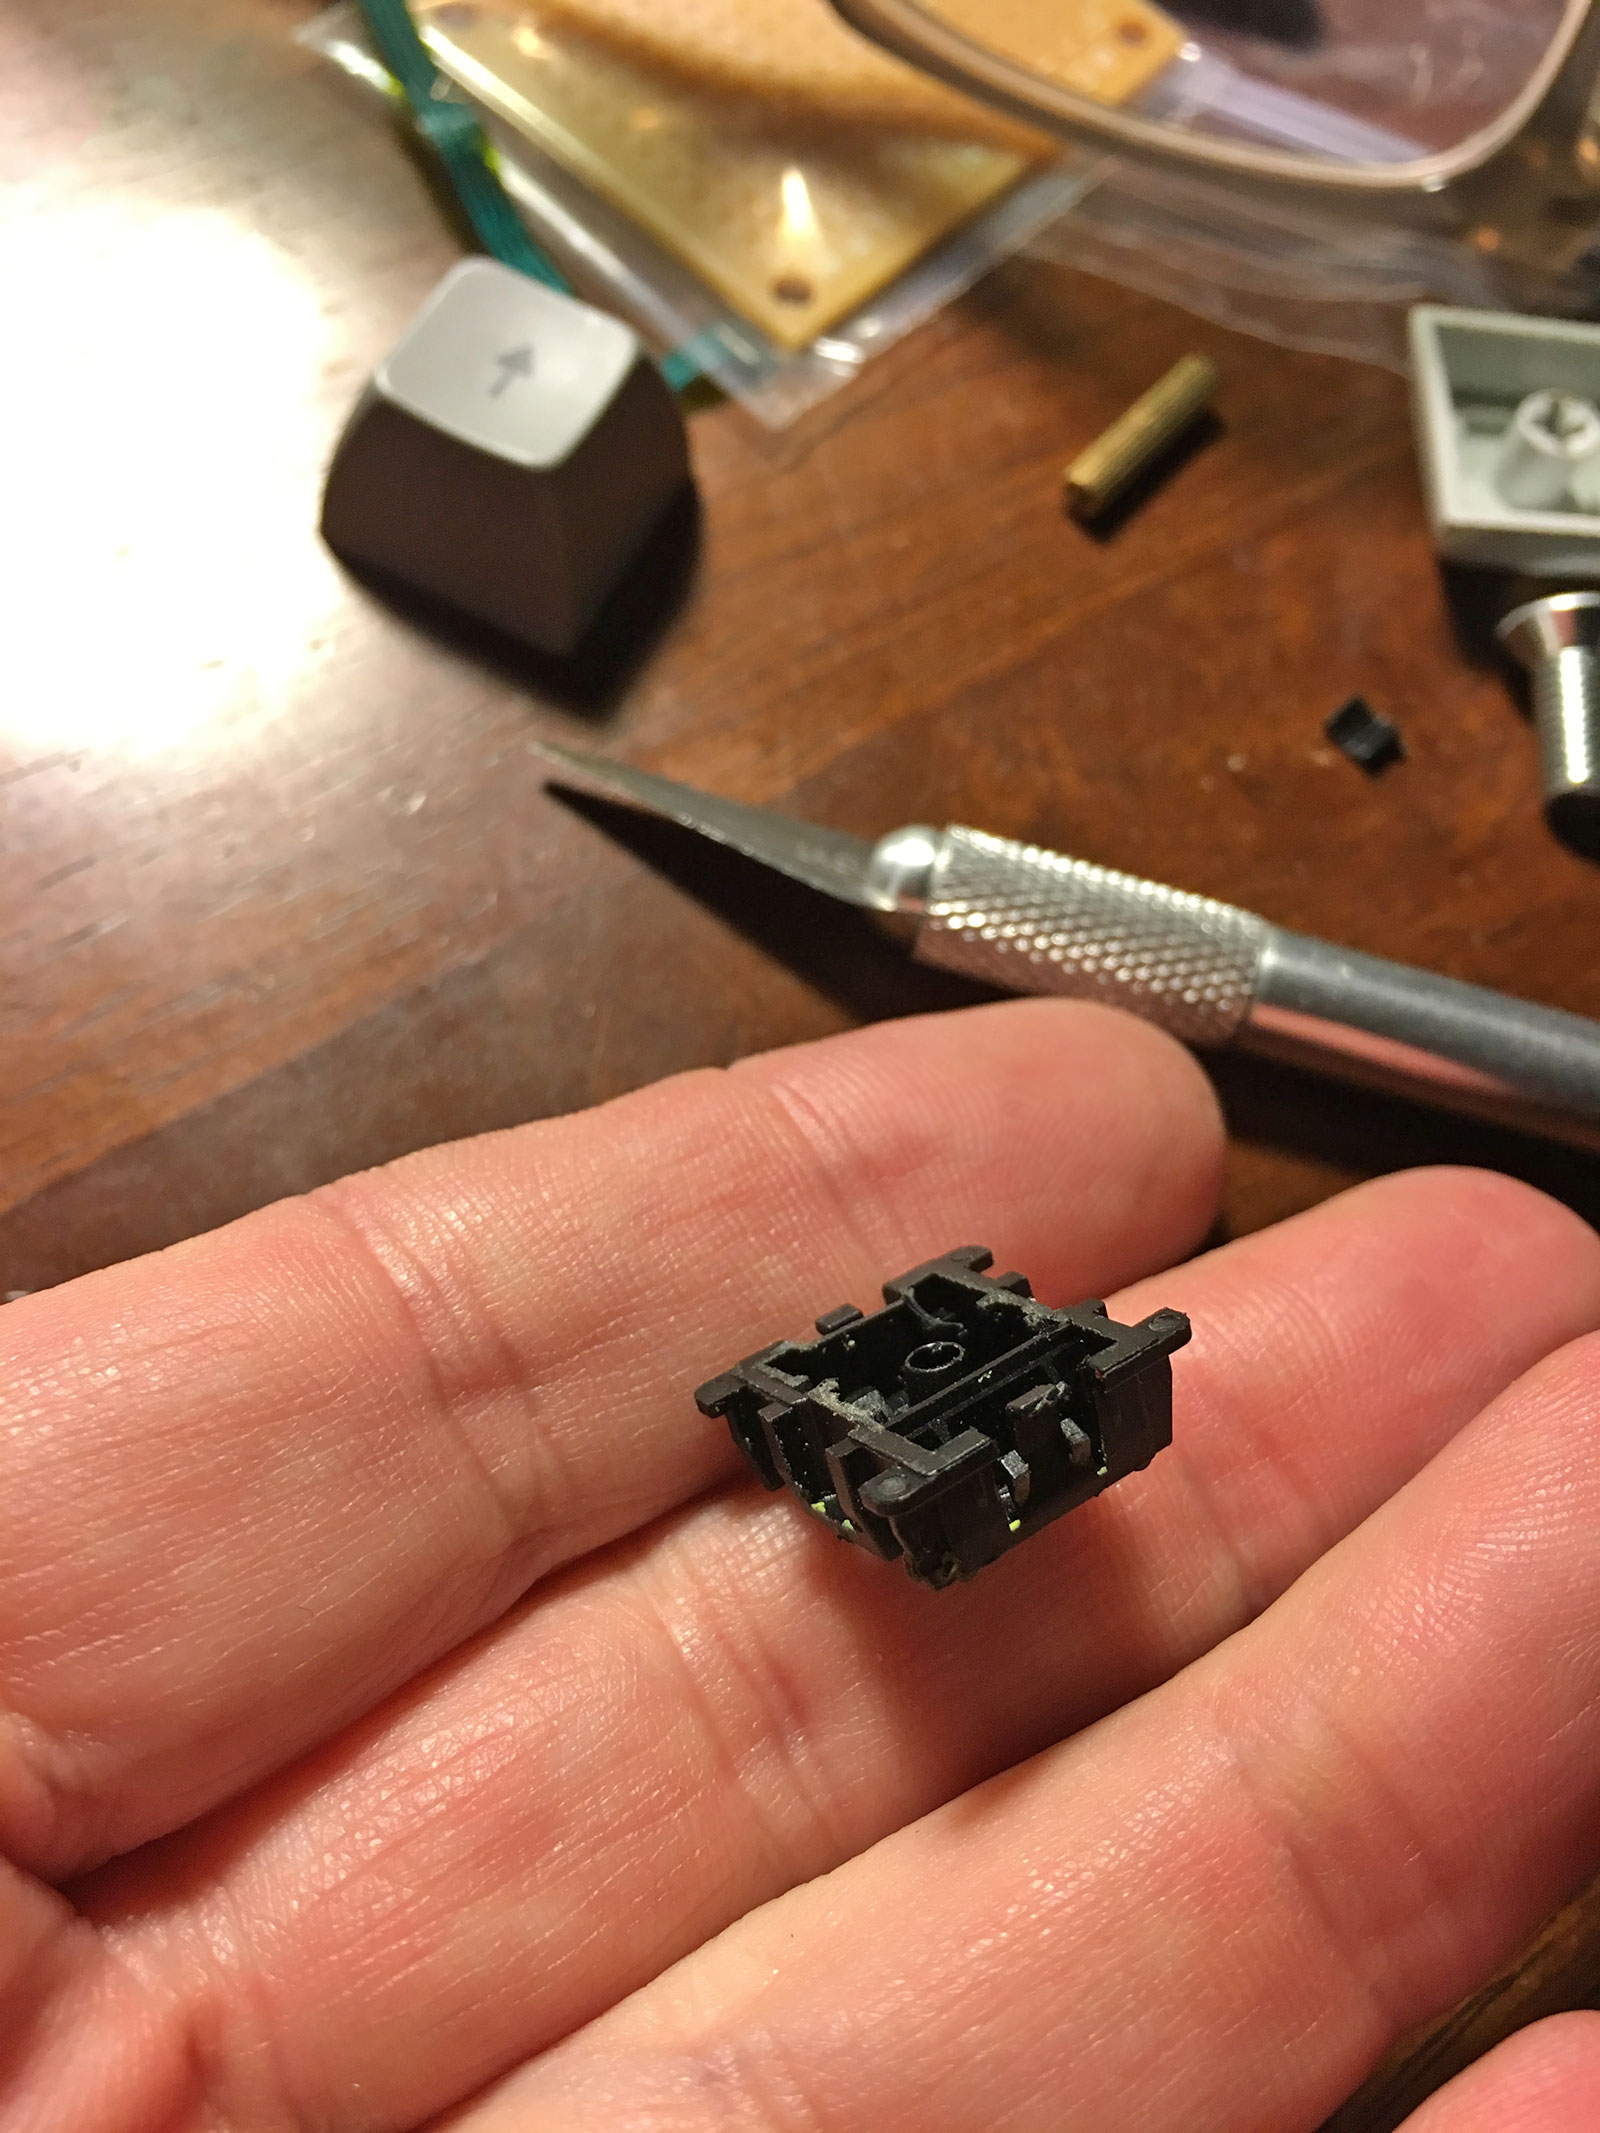 Opened a broken Cherry MX switch, then cut and sanded flat.
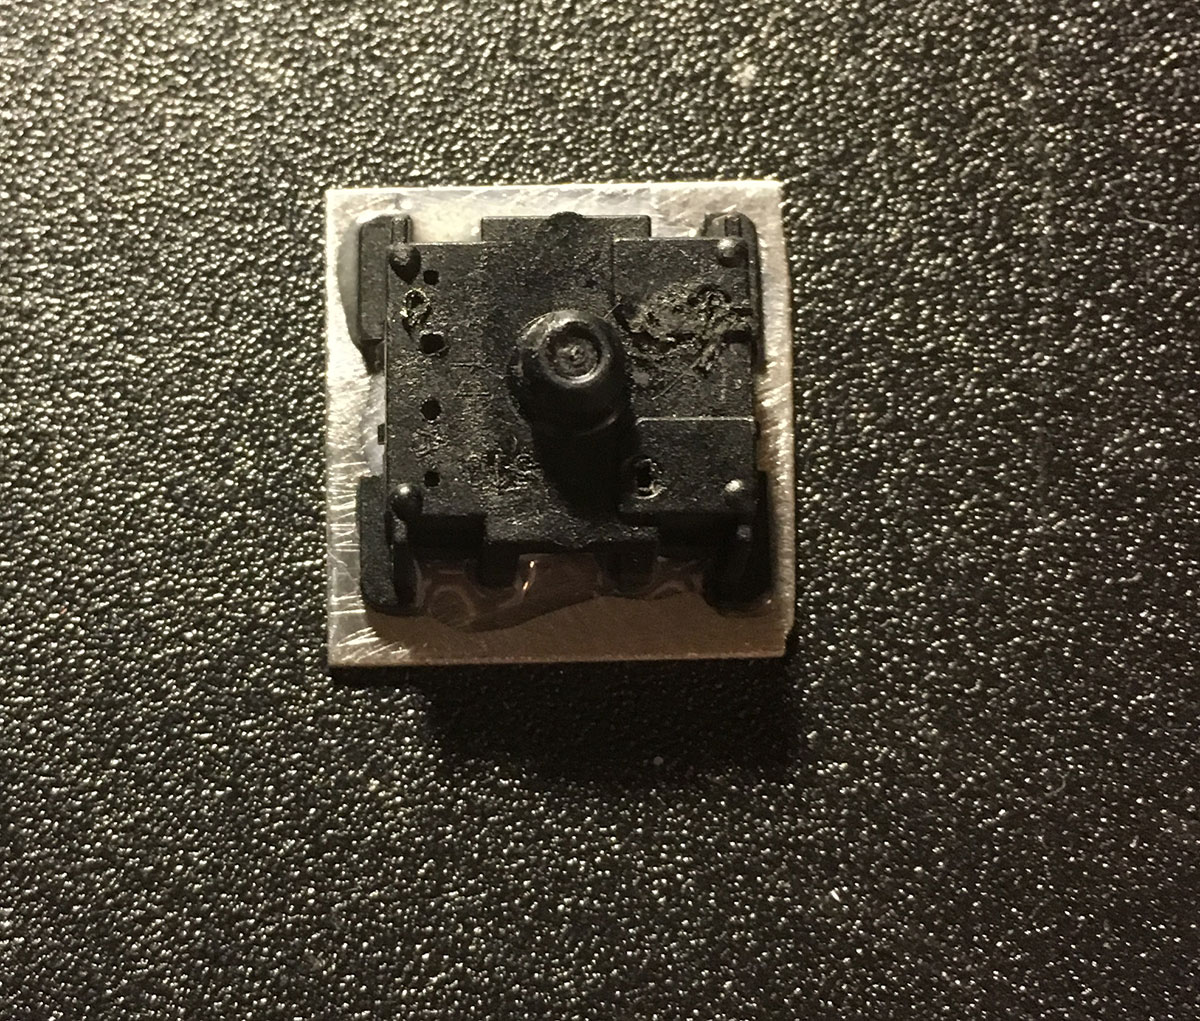 Epoxied it to a piece of craft metal I cut to size
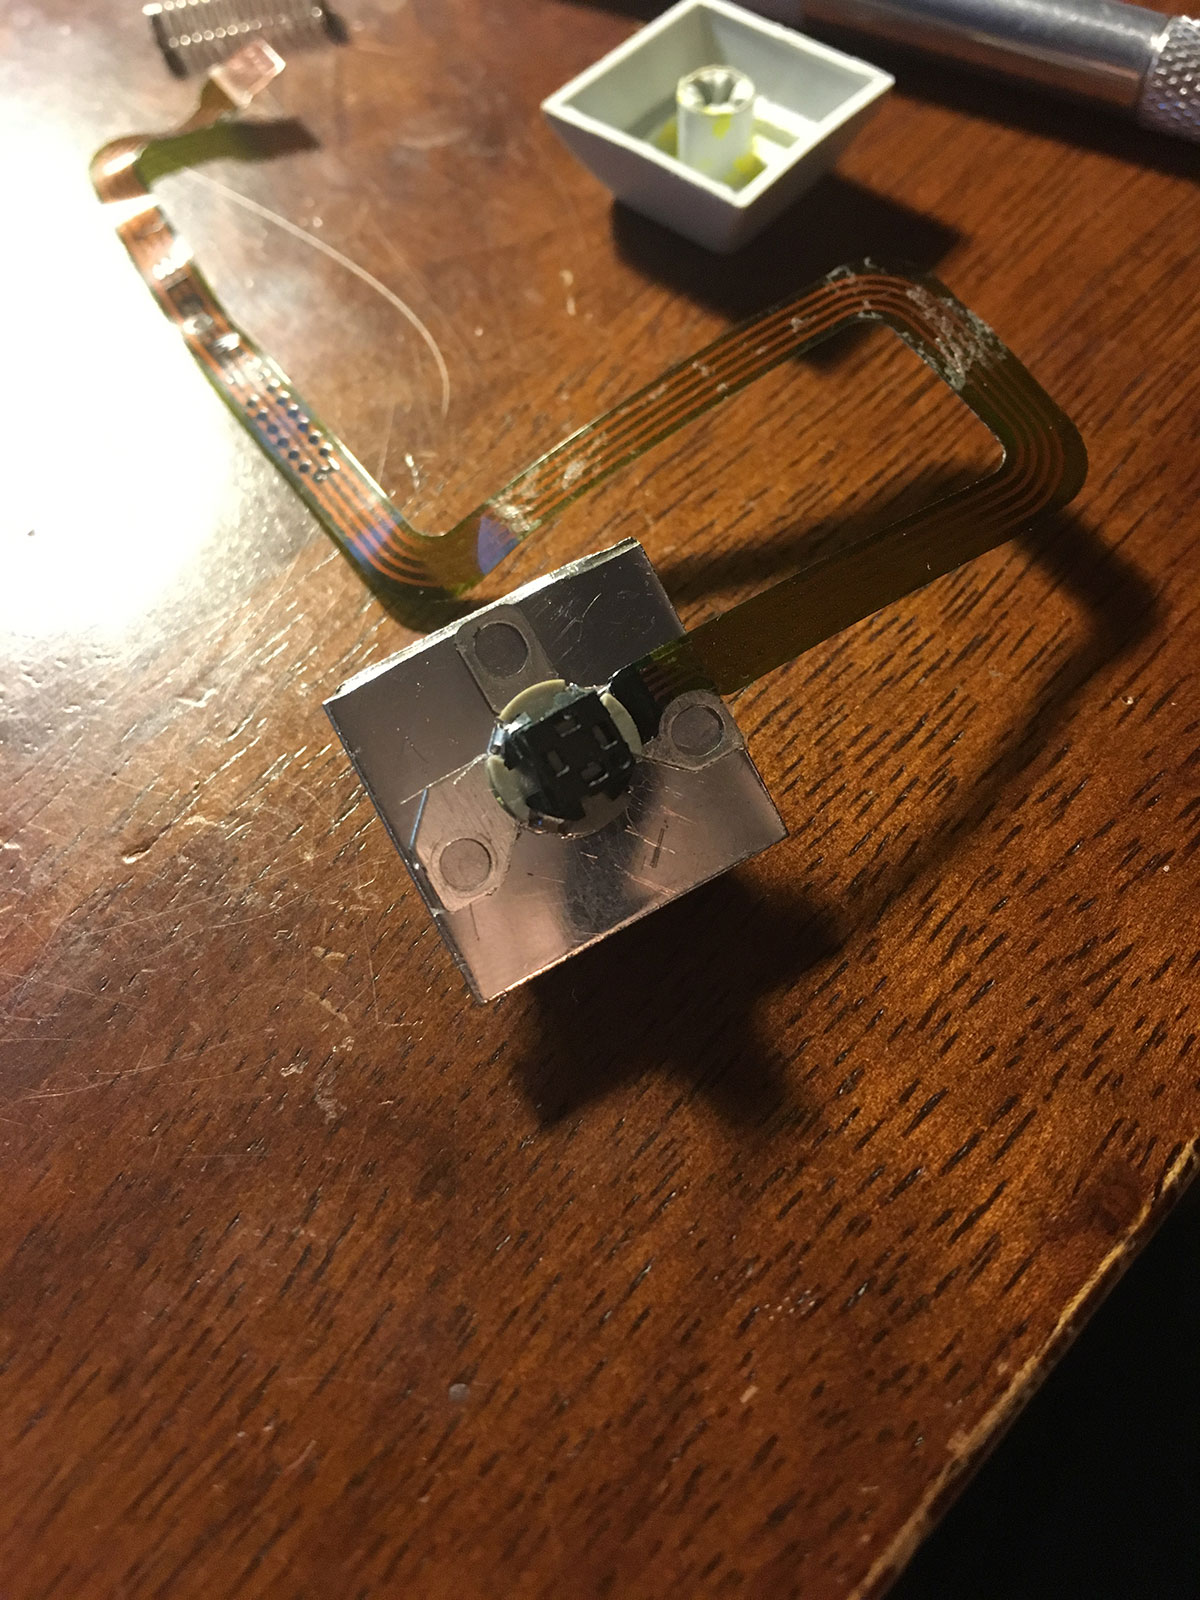 I used thin, permanent mounting tape to attach the Trackpoint sensor to the other side
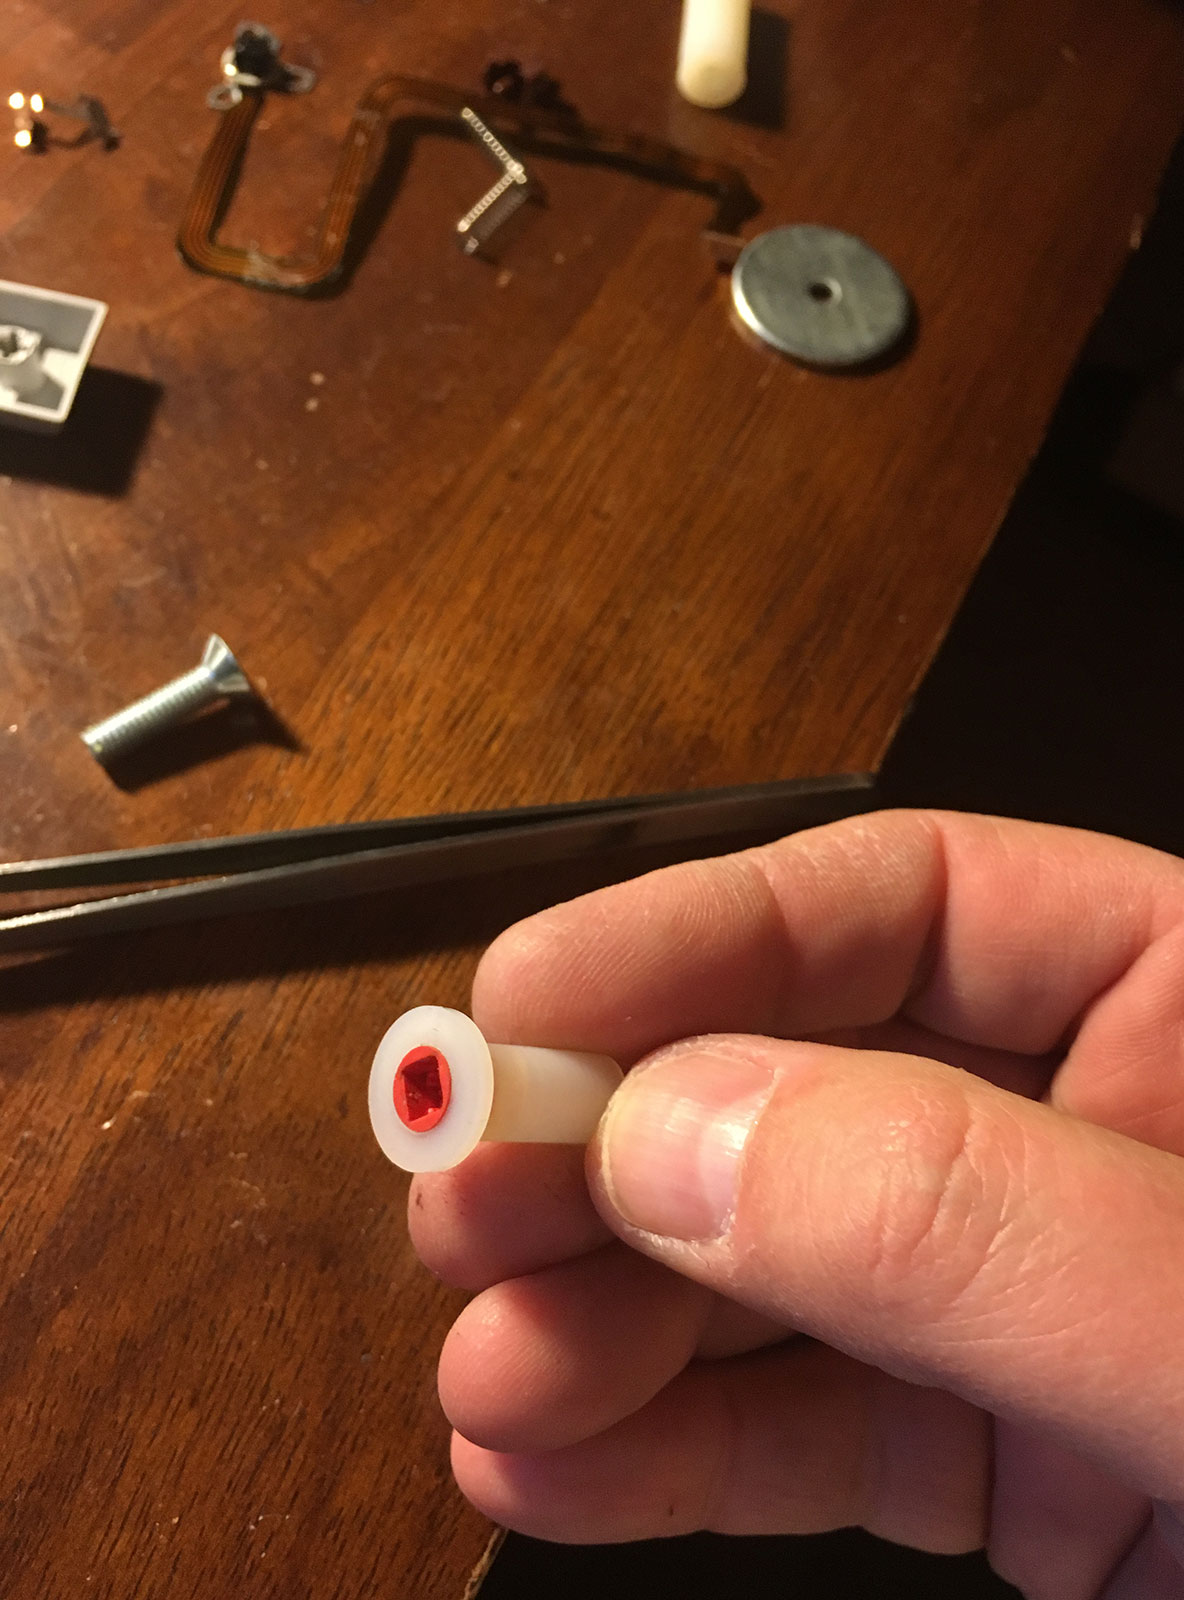 I found a nylon bushing at the hardware store that fit the Trackpoint nub tightly, then epoxied them together
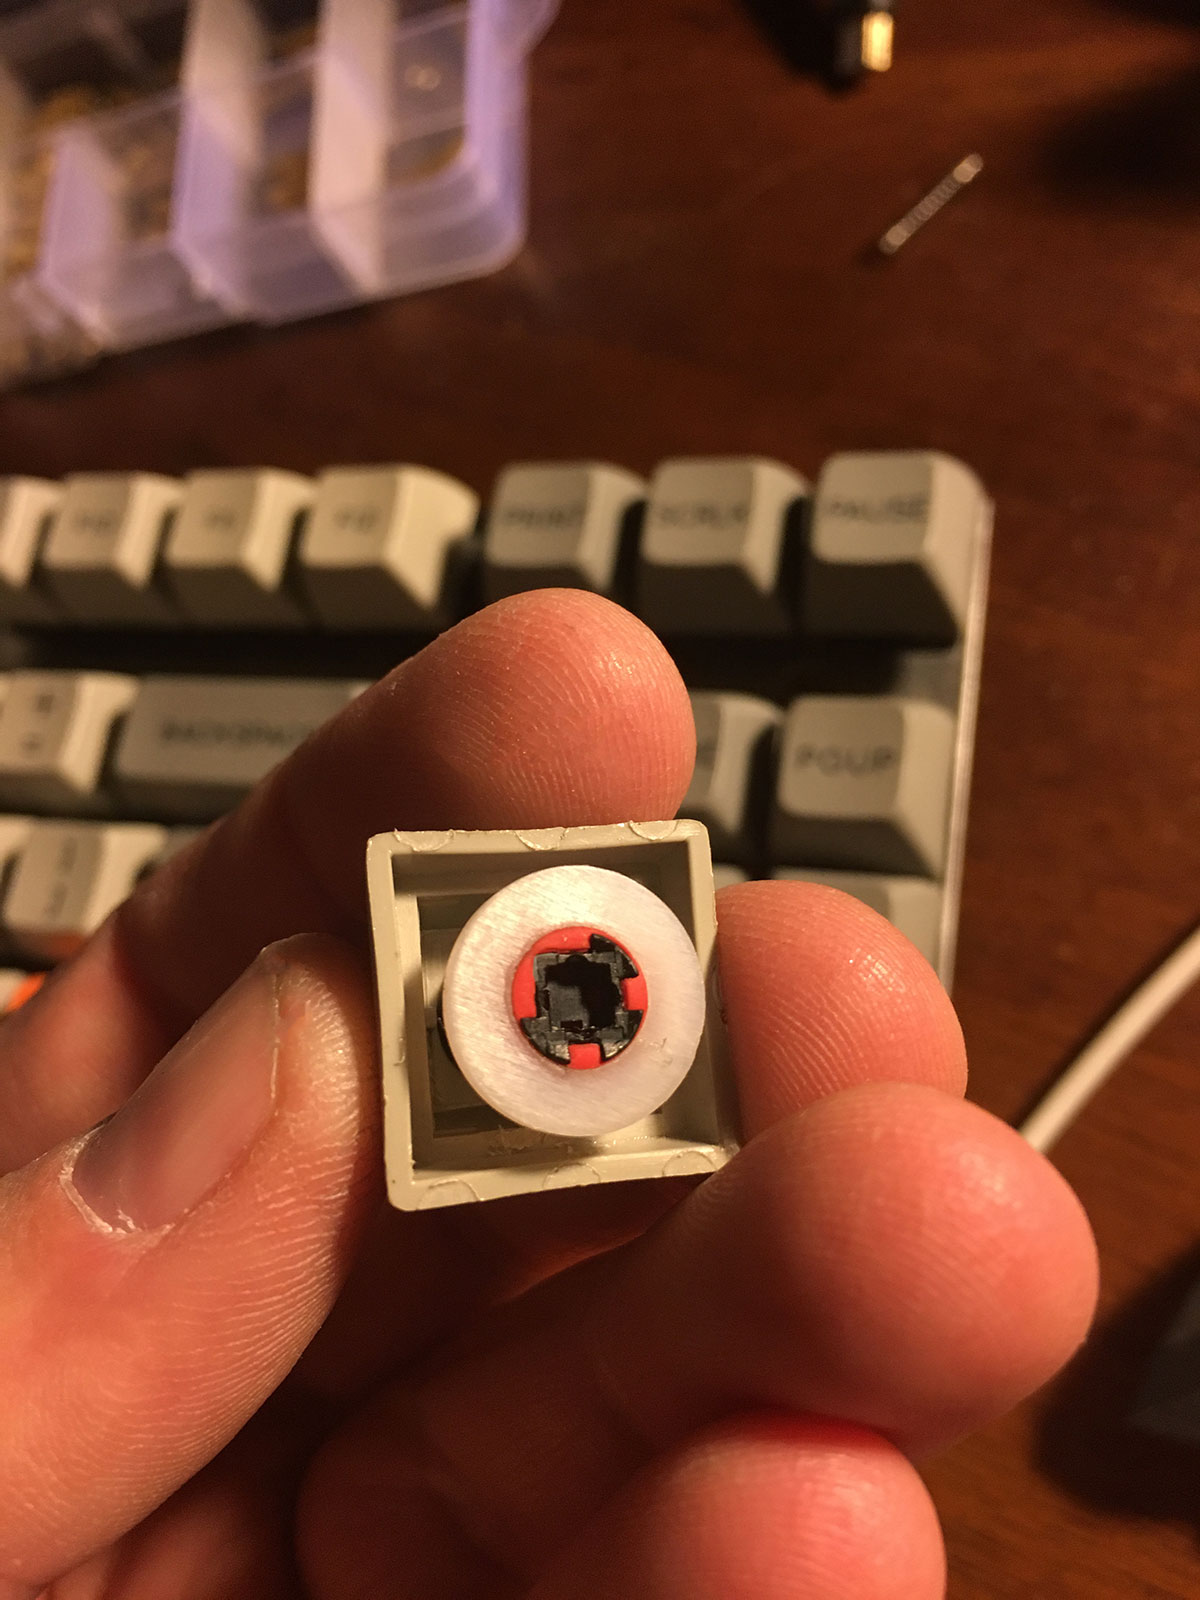 I shrank heat shrink tubing around the keycap stem to make a tight fit in the bushing, then pushed together. (The black piece came off the TP sensor, it stuck to the nub)
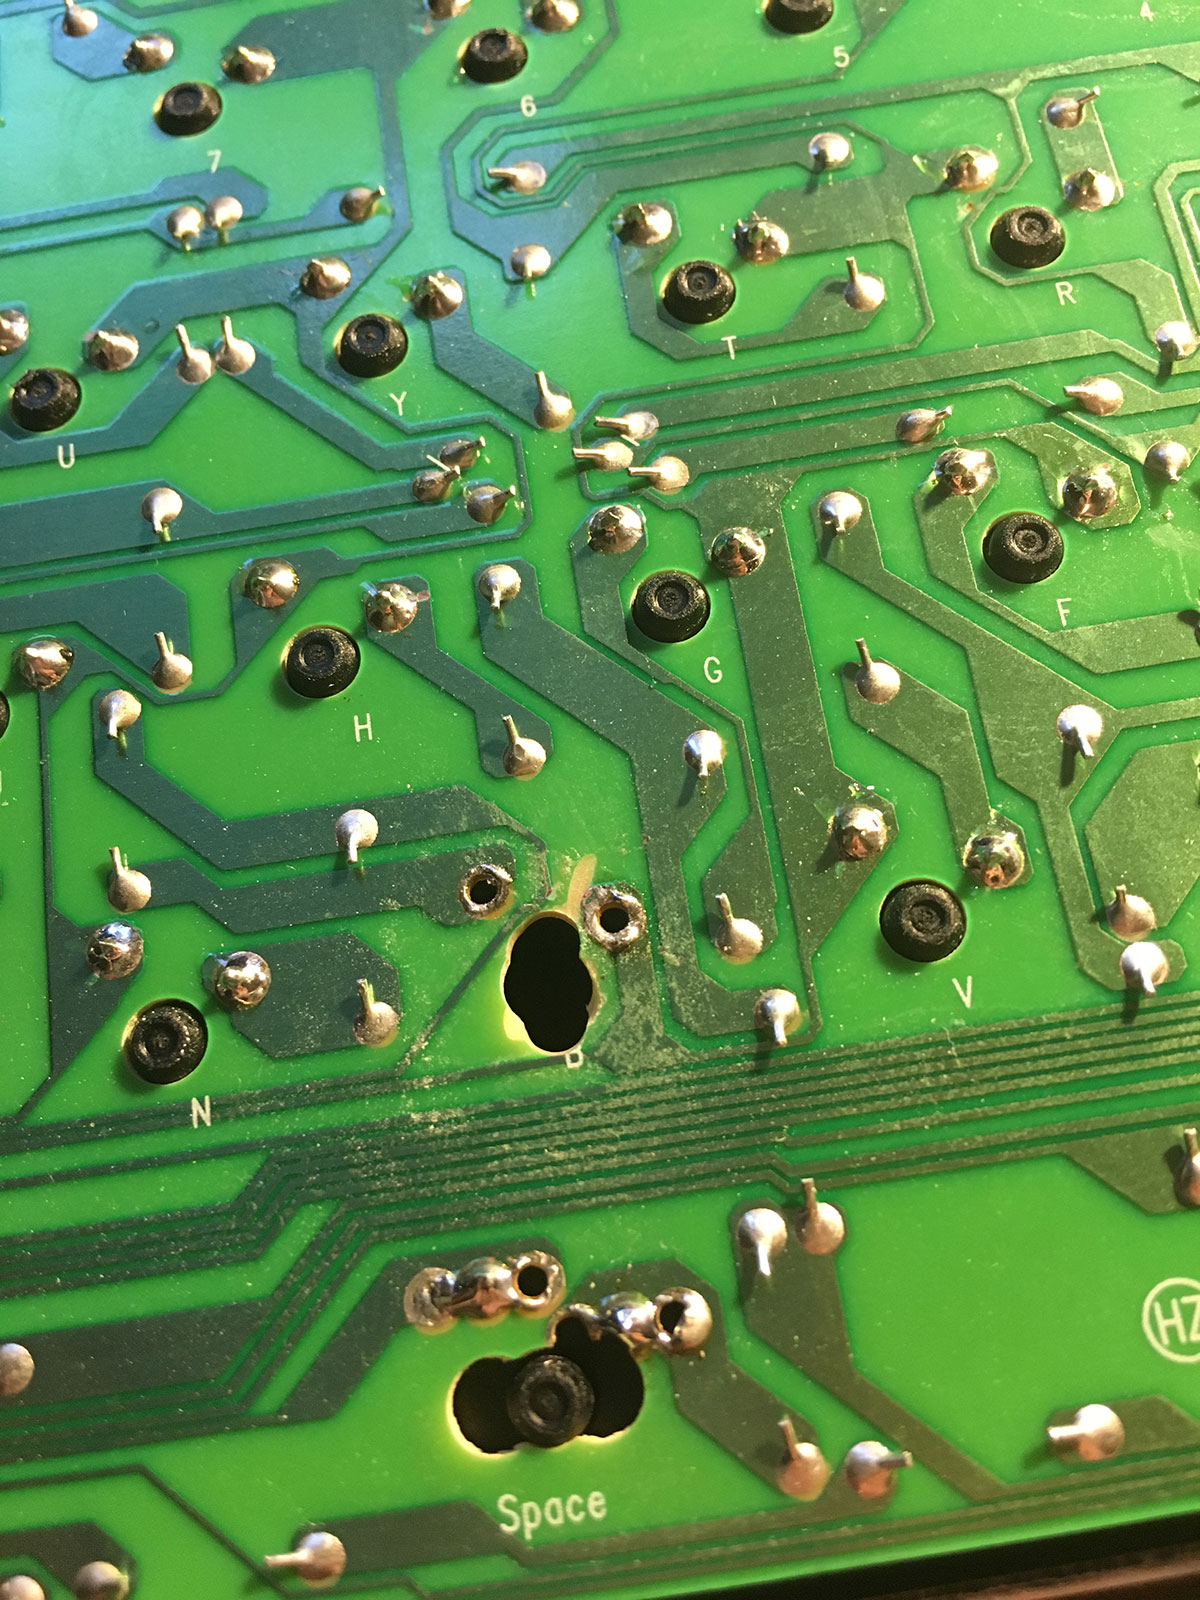 Widened the MX mounting hole to pass the sensor tape through the PCB
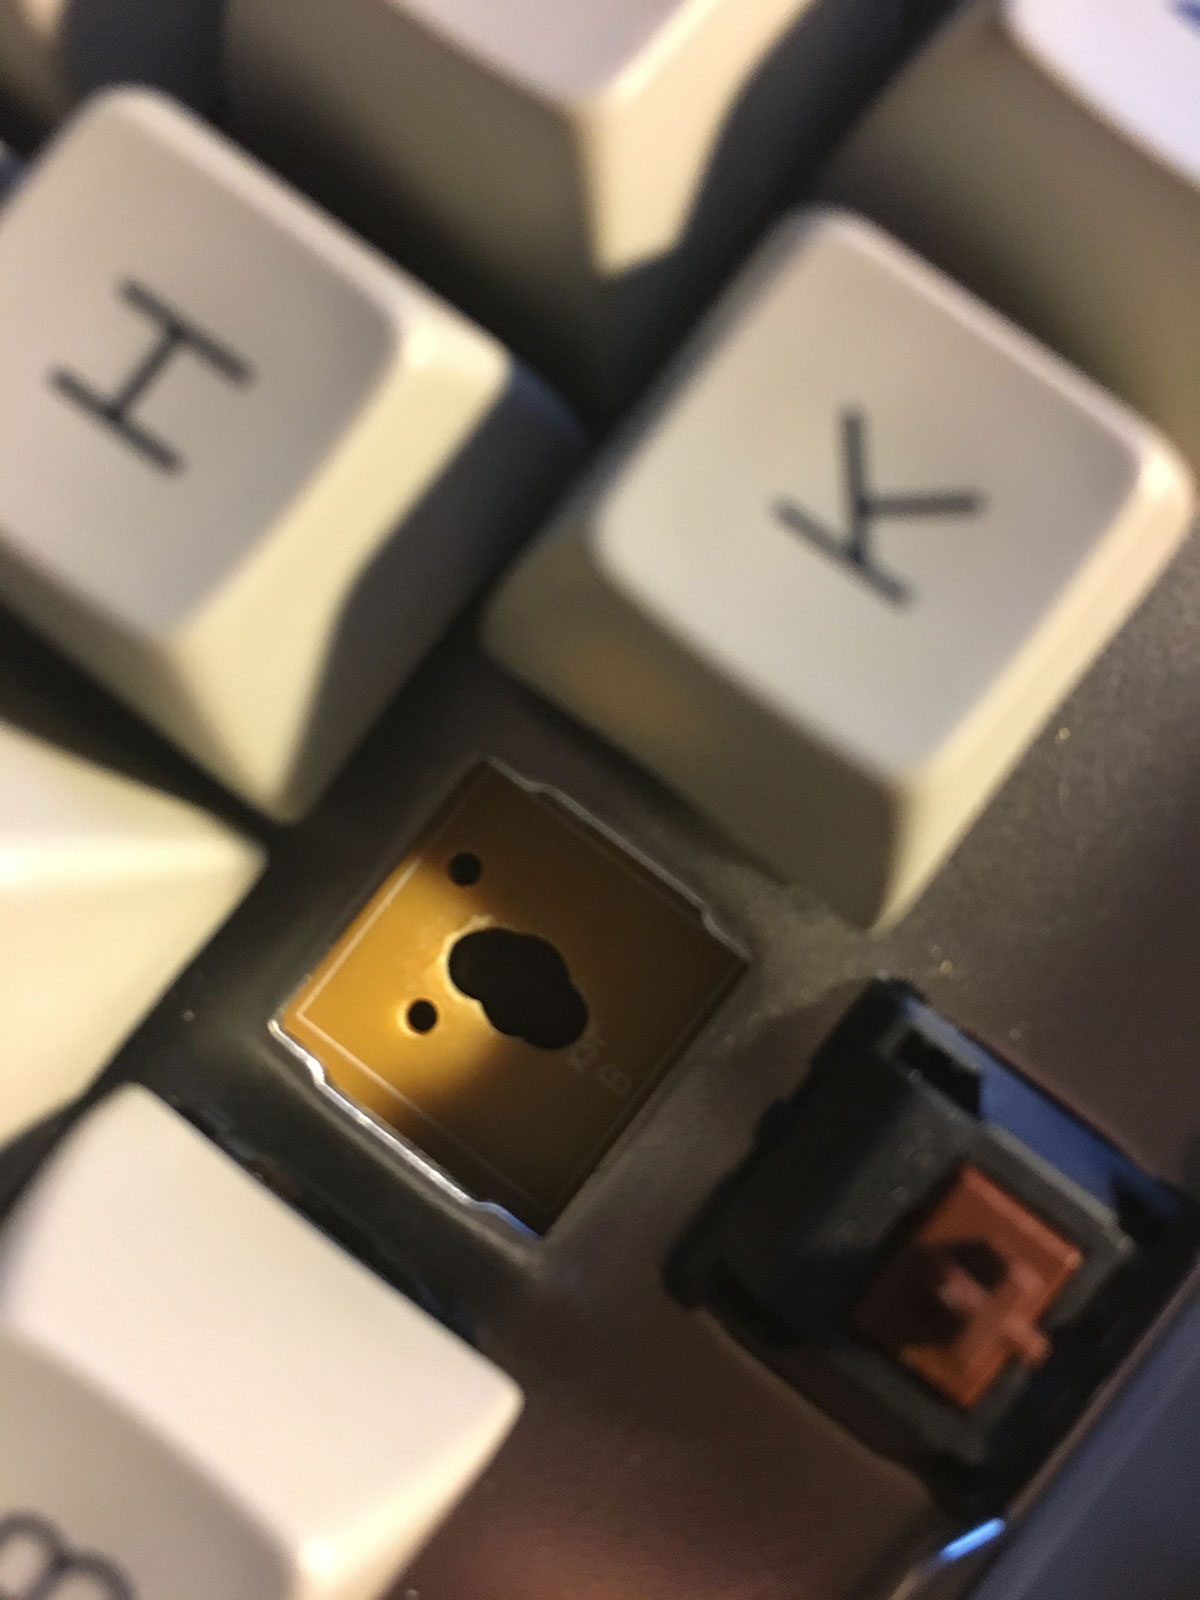 Ready for the FrankenTrackpoint
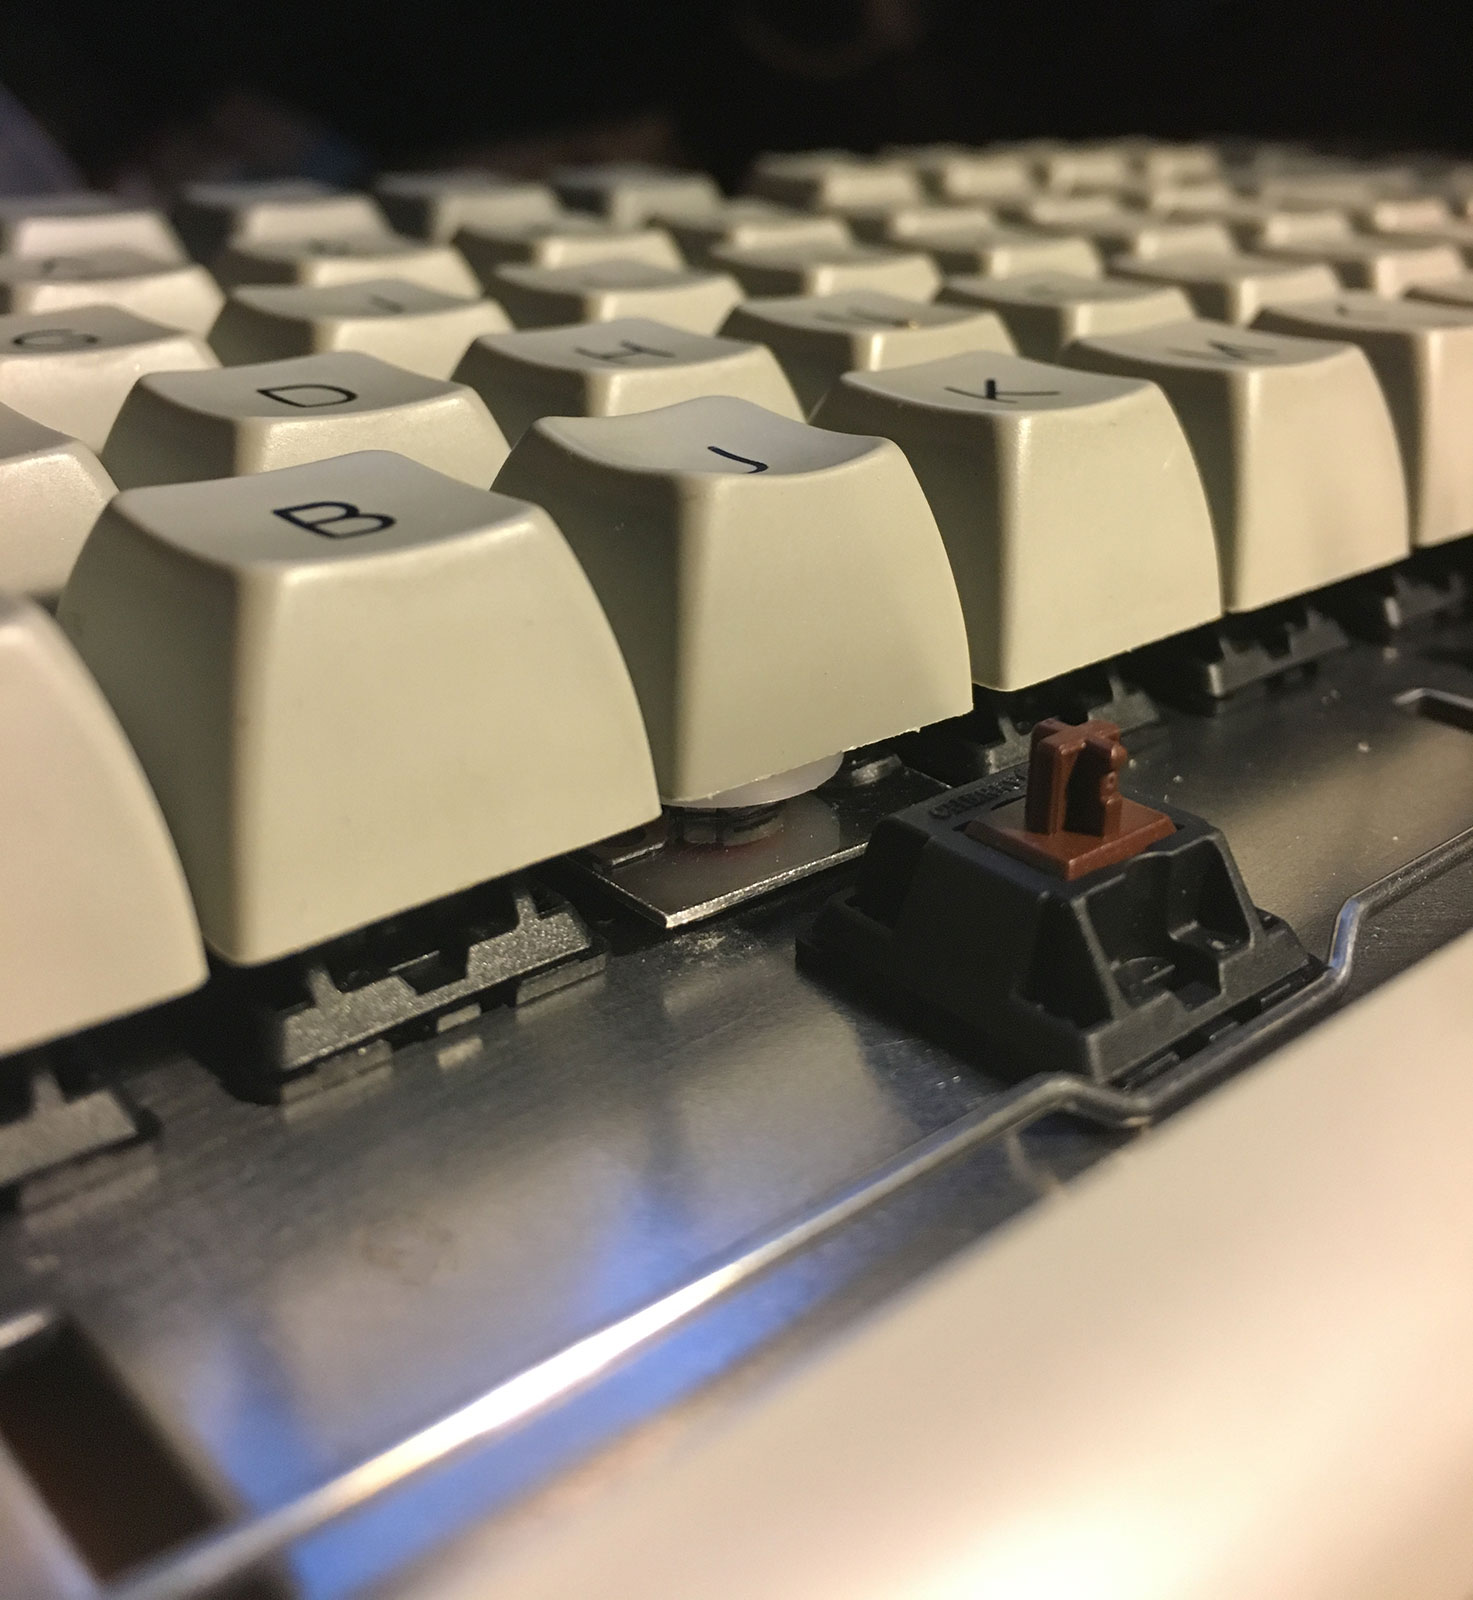 After some trimming, fits perfectly
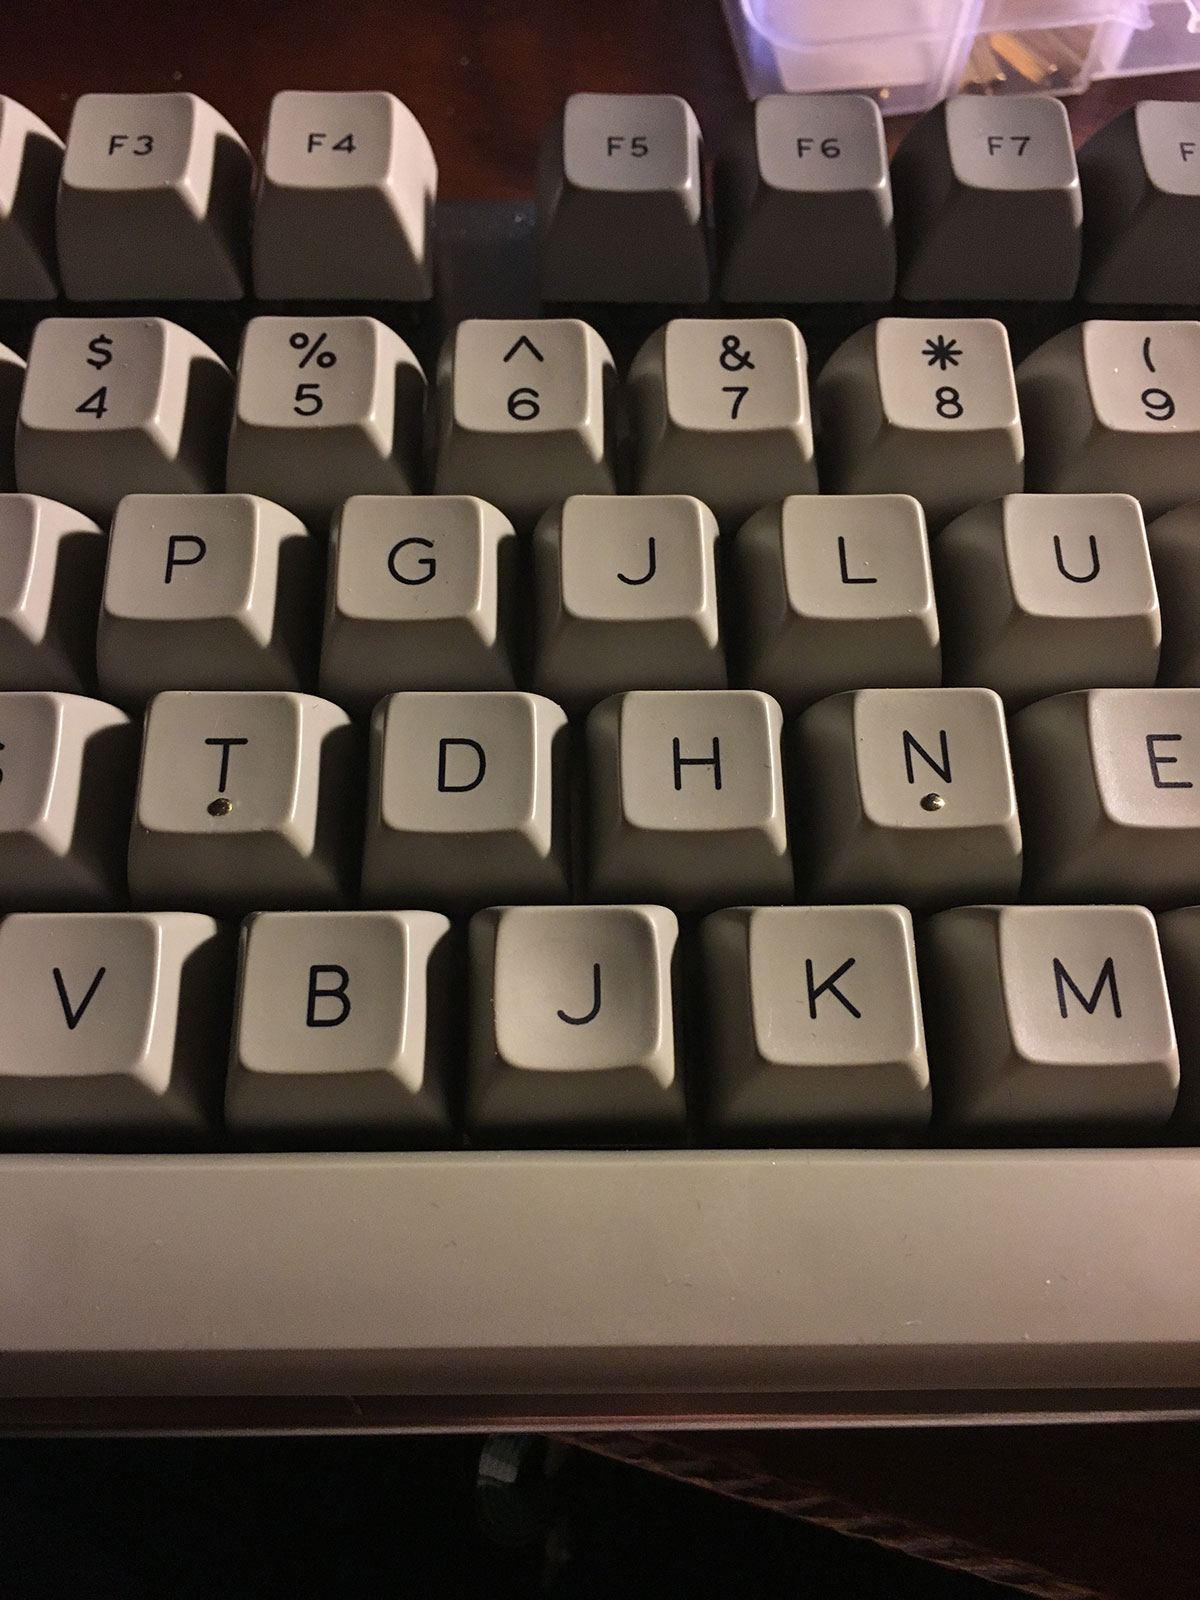 Used an unused J Homing key (since I’m a Colemak freak) as keycap - nice coincidence is that Zenith Data Systems had a Trackpoint-like system called the J-Mouse about 20+ years ago under the J key.
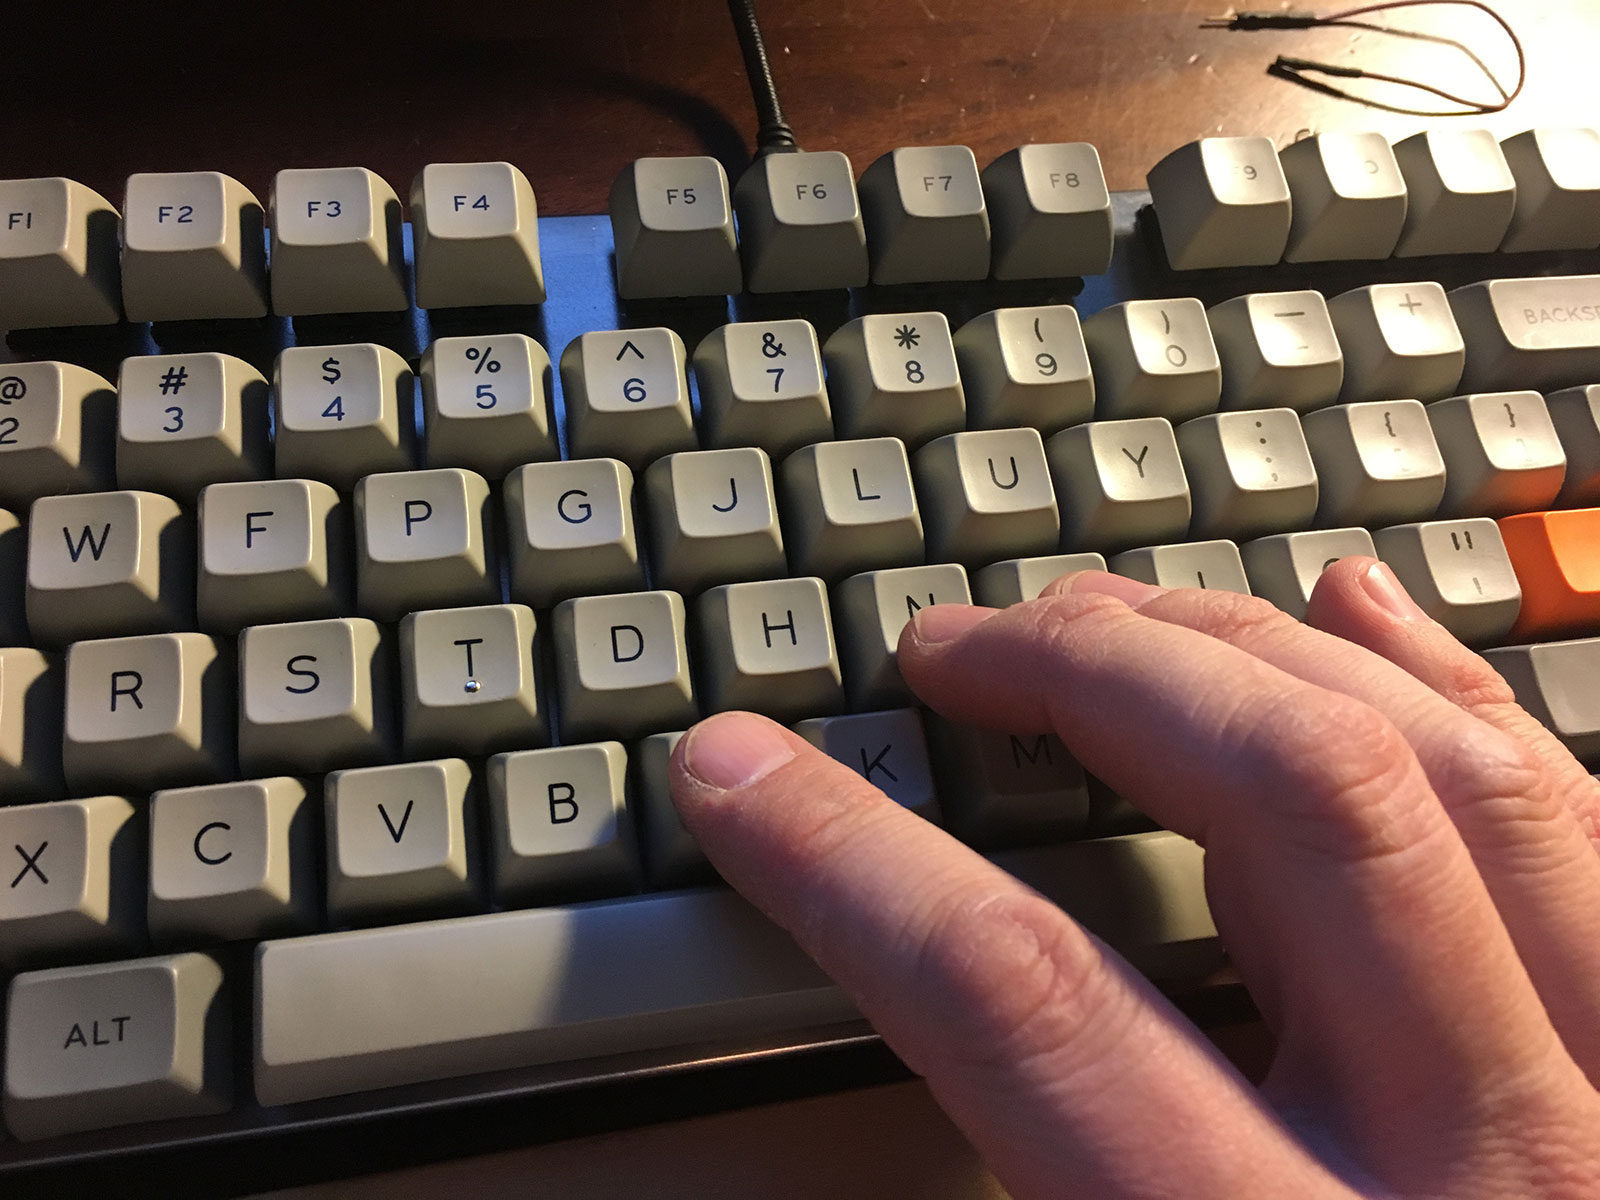 You’ll have to take my word for it, but It works! The SA homing indent feels really nice!
But… no mouse keys. I hope to find a Mac driver that lets me tap the key to click, but no luck so far. I’ve temporarily mapped the right Alt key to mouse click, but it’s awkward.
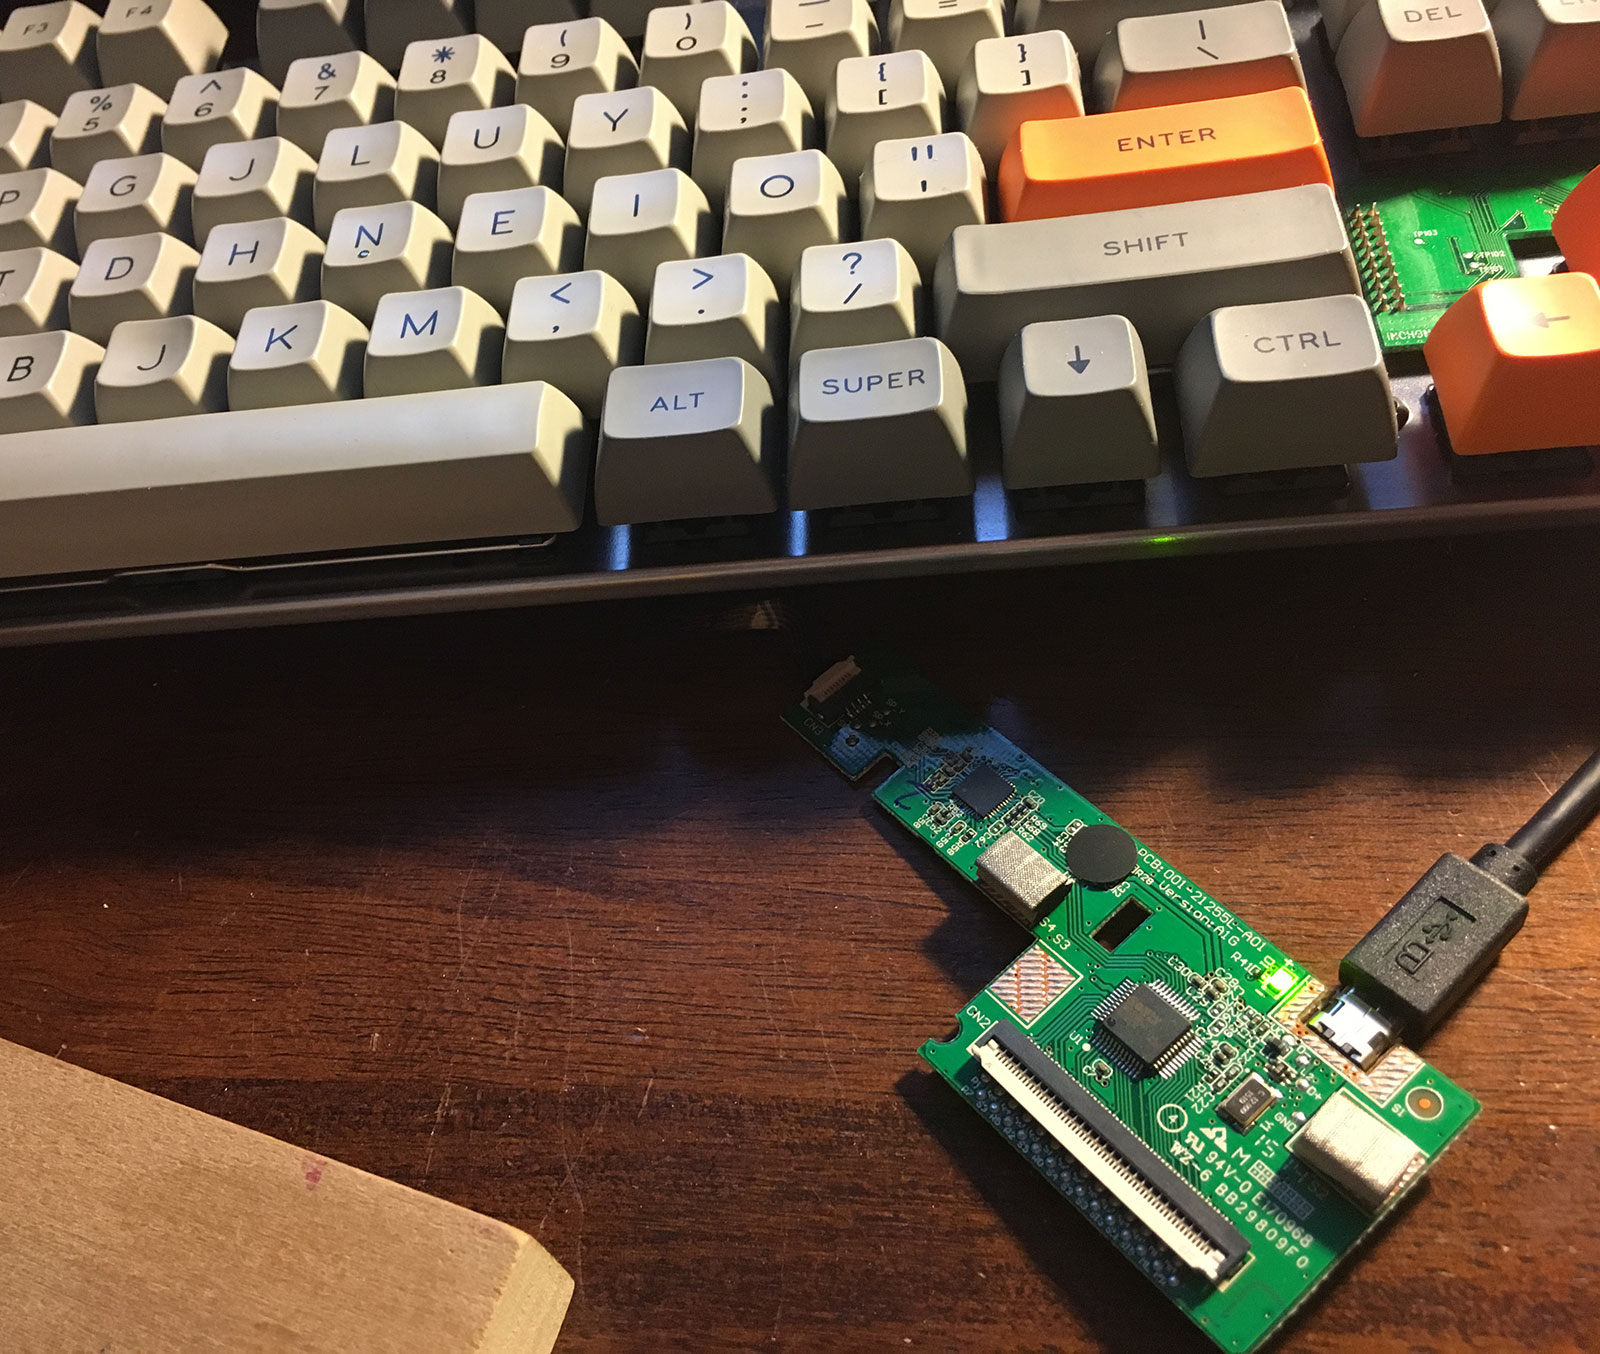 And need to mount this… was thinking of making a wood case, so will make room for this.